Can you Torch Fire Silver Metal Clay?
May 21, 2026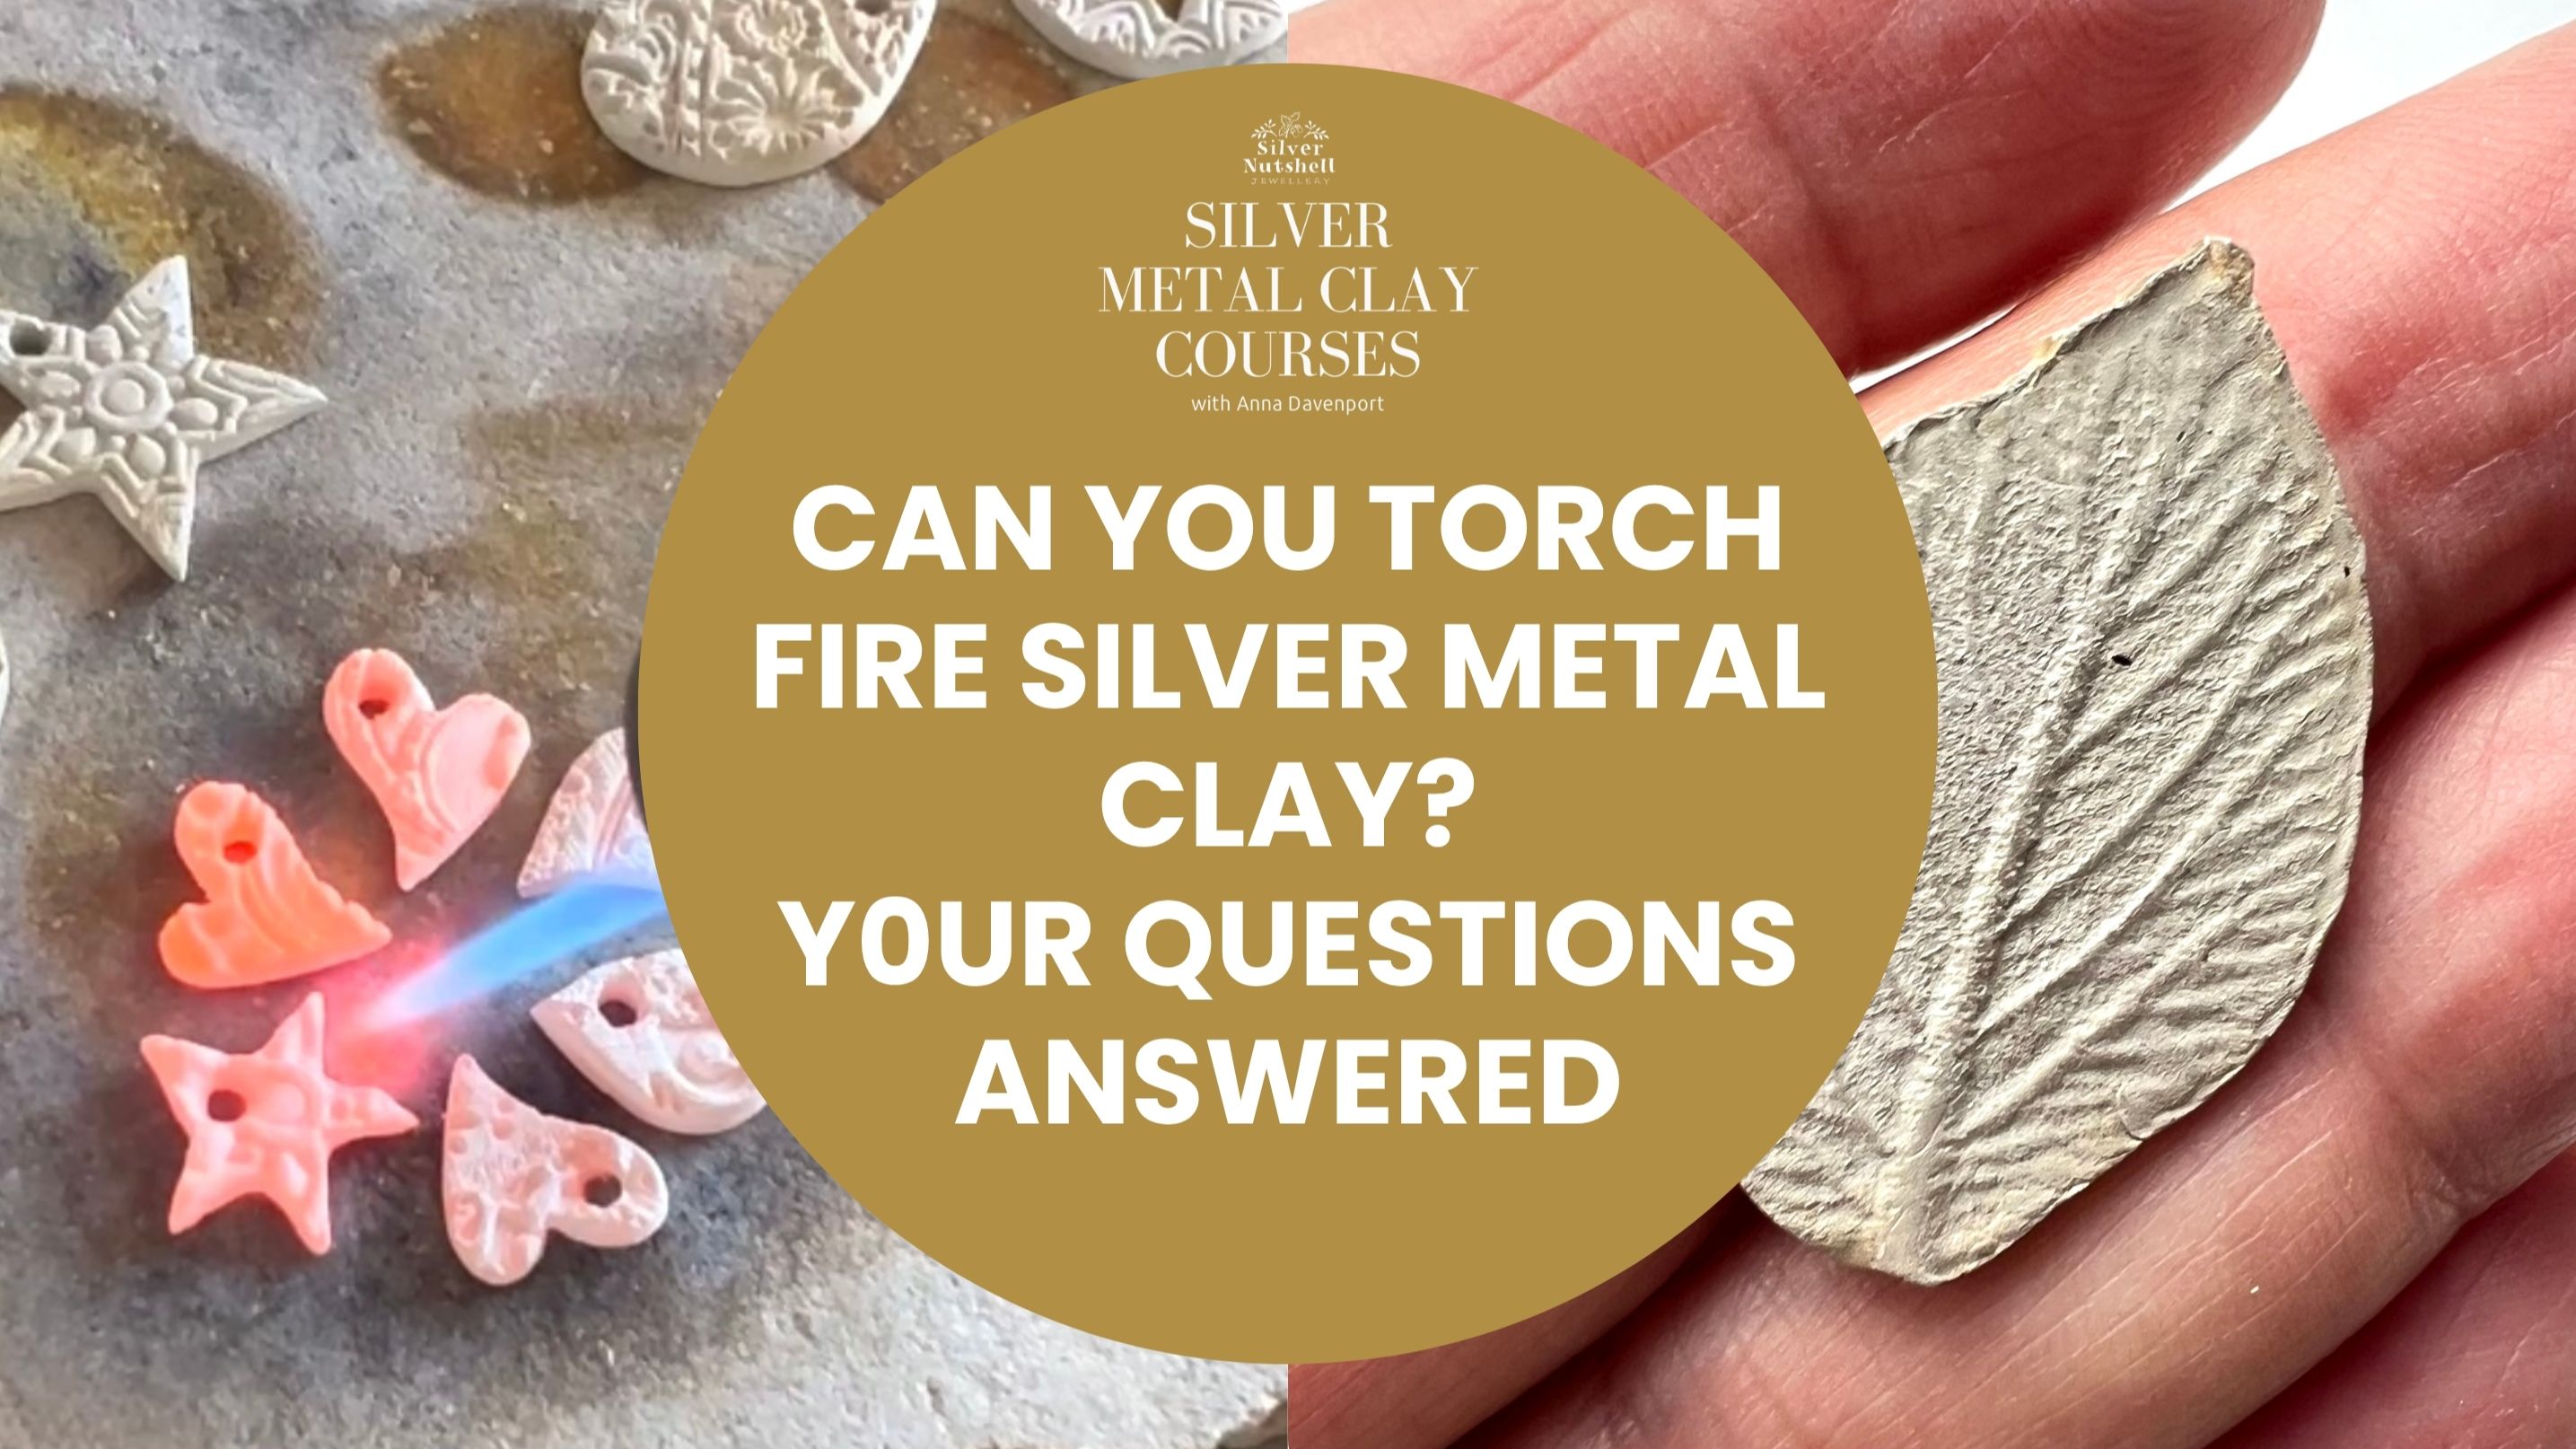
By Anna Davenport, Founder of The Vault & Silver Nutshell on Substack
If you're a beginner, and excited to get started, you'll find these Q&A's useful
1. Can I torch fire silver metal clay?
Yes, but only for fine silver 99.9% clay, which for me is Art Clay Silver. The other clay that I'd recommend is the Cool Tools Torch Fireable Clay, which has a higher shrinkage rate but also torch fires beautifully.
- Small Pieces: Most people will say that torch firing is ideal for small pieces, such as charms, earrings, or small pendants. I torch fire all my pieces. Yes, that includes everything that you see me make in all of my Online Courses and Guides.
- Torch Firing Tools & Equipment: Use a butane gas jeweller's torch and a soldering block. I pop a smaller rectangular block onto a 12" x 12" soldering board and place it on a turntable. It's not necessary to have a turntable but I find it useful for any soldering that I want to do.
- Safe Space: You will only need a small space for torch firing. I pop my soldering board on top of the kitchen hob because that's the safest place. I can turn the overhead fan on if I want to remove any odours or smoke, which only lasts for about 3-5 seconds when the organic binder is burning off. It's worth saying that the binder is non-toxic so although it does give off an odour, it's safe to use.
- Technique: Turn on the torch and heat the piece until you see a little smoke and a small flame. That's the organic binder burning off. Now, begin heating your piece until it starts to change colour and is a salmon pink colour. This is the time to start the clock. Continue to heat the piece, maintaining a "salmony" glow for the sintering time, which can be between 2–5 minutes.
- Do's: Be Safe at all times. Wear sensible clothing, a pair of goggles to protect your eyes and ALWAYS watch what you're doing. I recommend torch firing when there's no one else around, so you're not distracted.
- Do's - watch your piece throughout the process. I recommend torch firing two pieces at the same time. Both benefit from the residue heat from the other, and watching two pieces will stop your eyes glazing over (yes, that does happen to me) and save you losing concentration.
- Don'ts: Don't try to torch fire base metal clays, such as copper, bronze, or sterling silver (925) clay. I've tried this and everything went to plan until I tried to polish the finished piece and it turned to dust. Base metals and sterling silver need to be kiln fired.
- Don'ts - Quench your pieces after torch firing. Silver metal clay can still be porous after firing, especially if you're a beginner and haven't torch fired for long enough. A porous piece can absorb some of the water and when you torch fire it again, let's say for soldering on a jump ring or adding a bezel cup for a gemstone, if the water hasn't completely dried out, the water will expand and your piece may crack or explode.
2. How much silver metal clay do I need to make a ring?
Look this question up on google and it will tell you that you need 7g - 10g of silver metal clay. Where in fact, you can make rings with far less clay. That's particularly useful right now with prices of silver being so high! Here's what I do...
- For my No-Join Ring Bands: You'll need about 1-2g of silver metal clay
- Textured Ring Bands: Typically these require 3-5g, depending on the thickness and width.
- Shrinkage Factor: Remember that silver metal clay (in my studio that's Art Clay Silver) shrinks by 8% to 10% during firing, so always start with a slightly larger size than you need.
- Testing for shrinkage that if you're using a clay with a higher shrinkage rate, you'll need to work out your shrinkage. The BEST way to do this is to make a sample ring. Check the size when it's wet clay and check again after it's been torch fired. As there are other factors at play, such as how much you press the clay, what texture you're using and which clay you are using to make rings - a good test is to see what your 'style of making' does to the shrinkage rate. Once you've made a sample ring, you'll know how much larger you need to make your rings so they shrink perfectly to the size that you want.
3. How to stop silver metal clay from sticking to moulds?
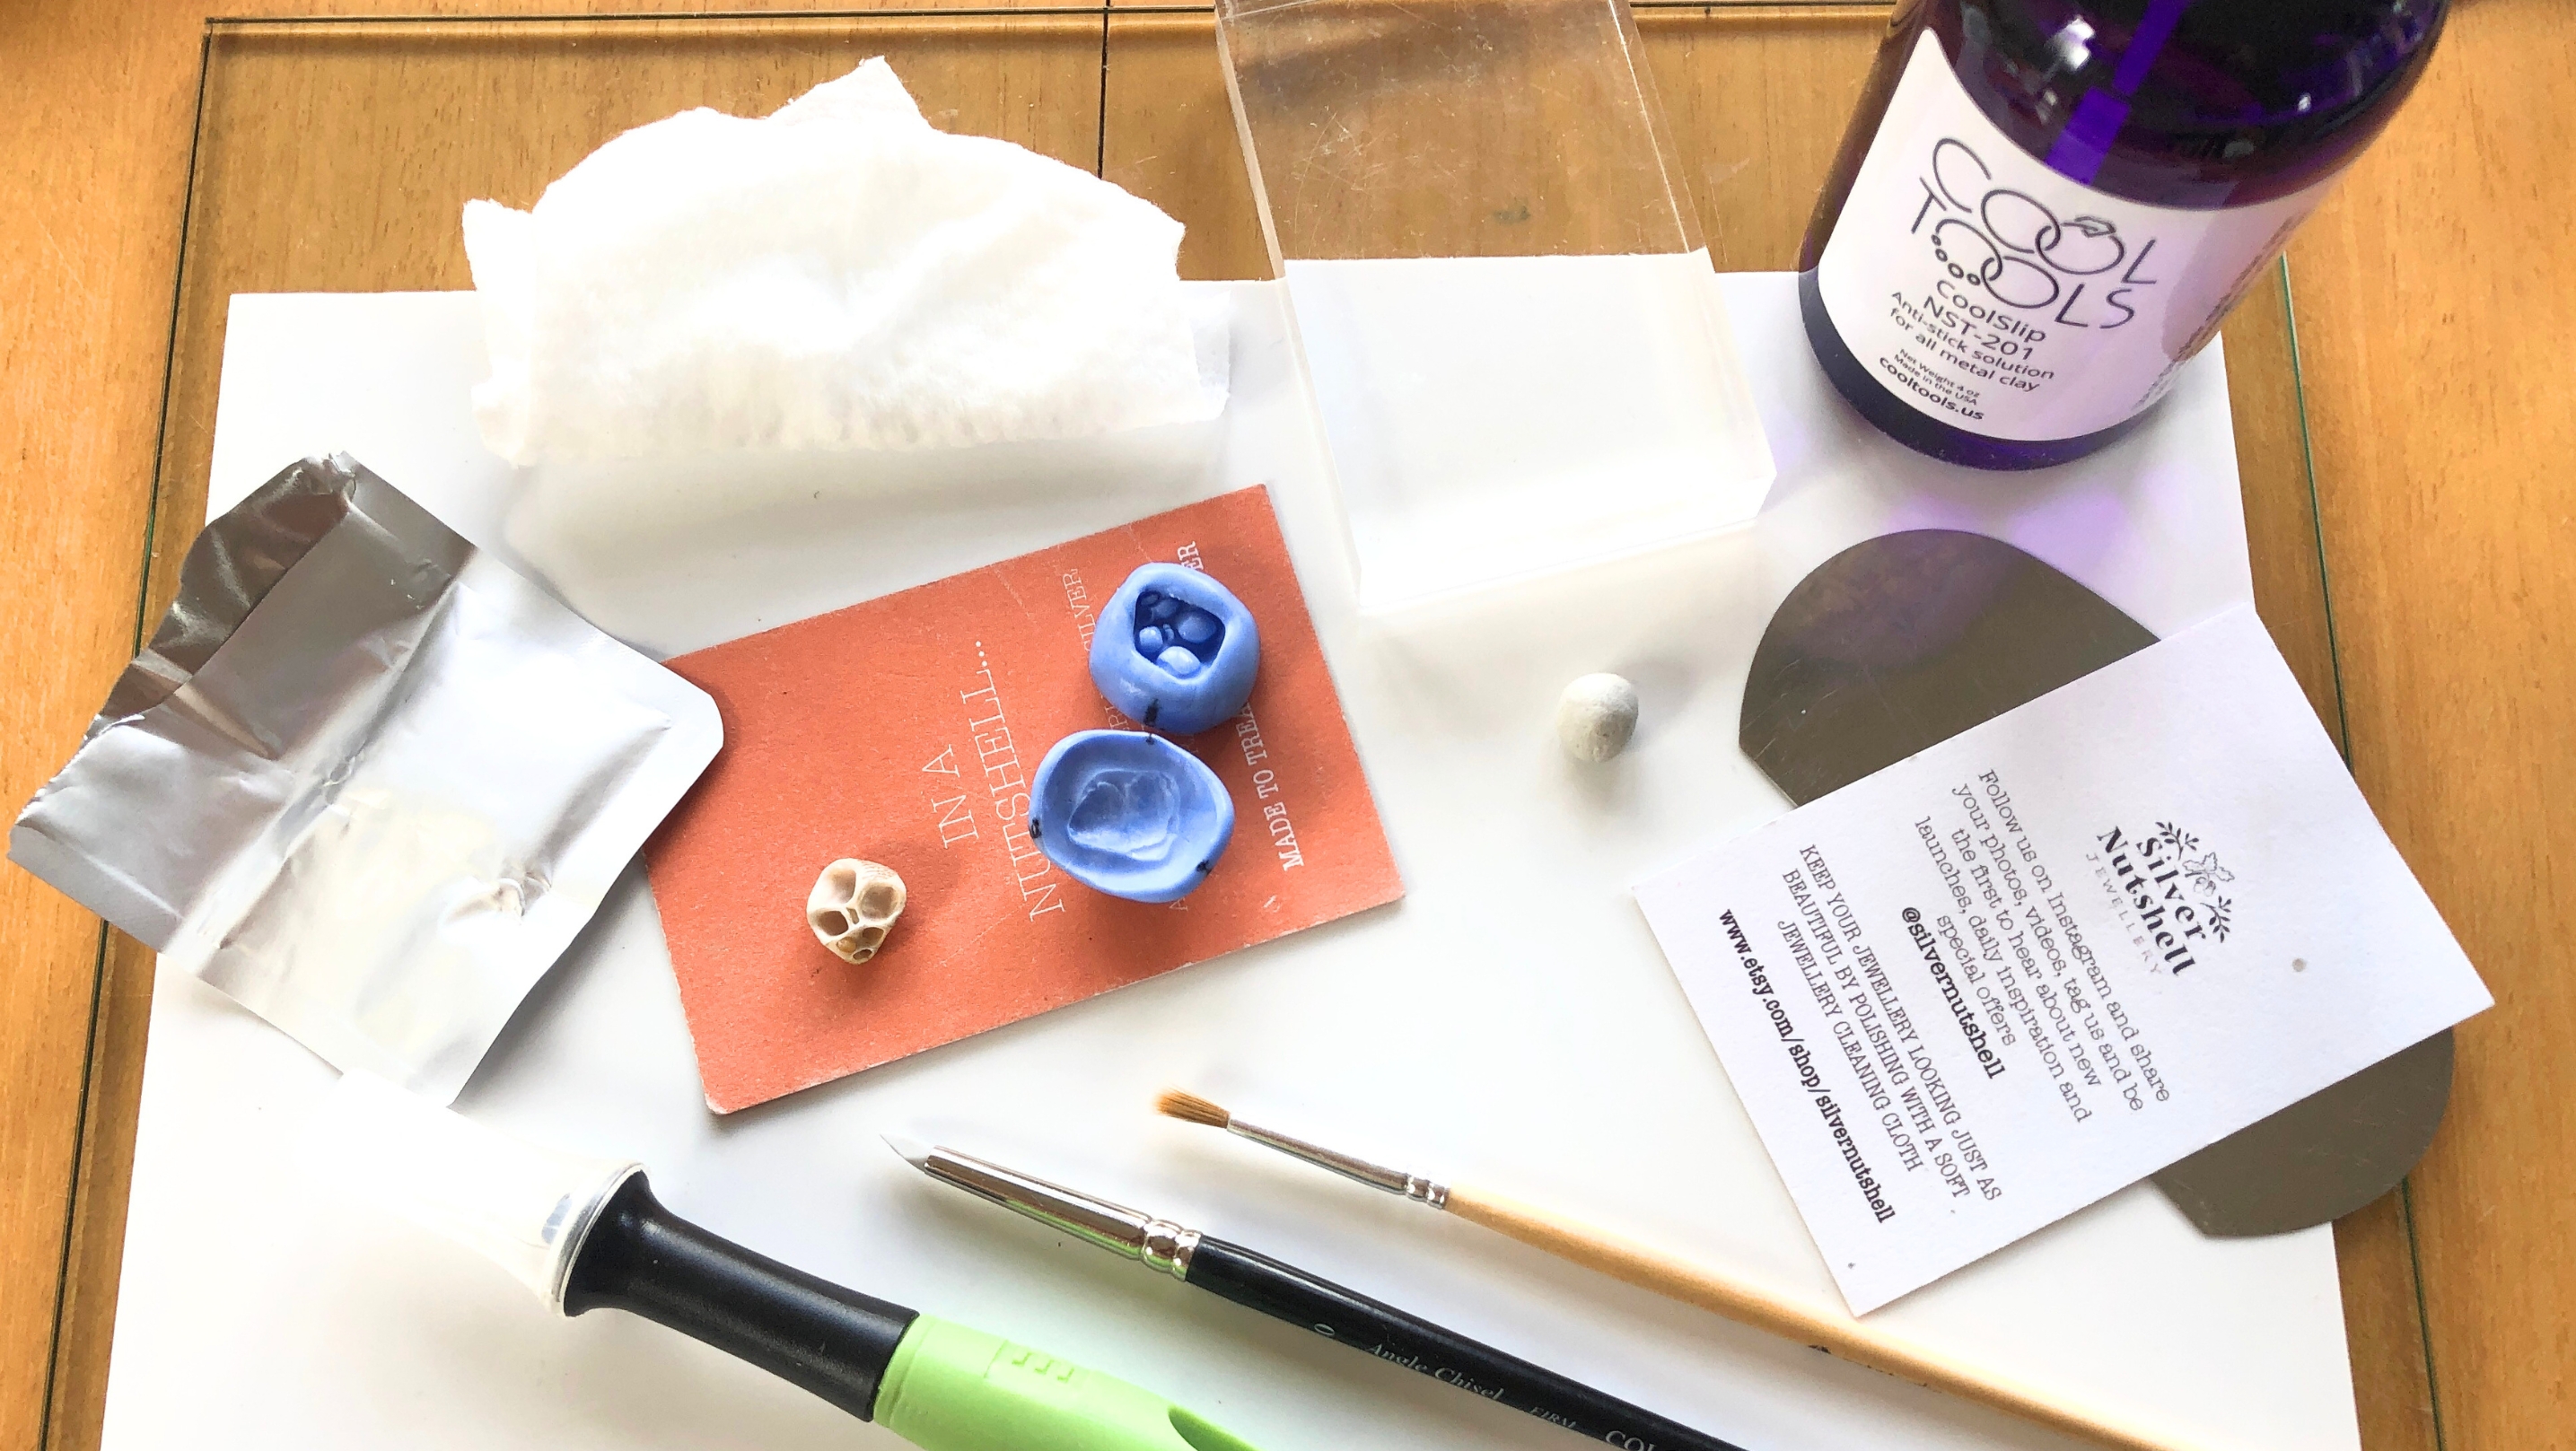
The most effective way is to use a release agent.
-
Liquid release agents: Spray some onto the lid of a pot, or onto your mat, and use a paintbrush to lightly brush your mould. I use Coolslip, which is from Cool Tools. It works brilliantly and a bottle lasts for ages. So much so, that they've changed the label since I last bought mine!
-
Balm release agents: For smooth surfaces, use a balm release agent like Slik Balm from Cool Tools. Store it in a cool place to avoid it going soft.
-
Alternatives: If you don't have access to the 'proper stuff' it's okay to use a little kitchen or olive oil.
4. What happens if my clay dries out before I finish?
Silver metal clay is a water-based product and starts to dry out as soon as it's exposed to air. It's why I tell my students to always prepare their tools, and decide what they want to make, before they open the pack.
-
Revive your clay: you can 'revive' silver metal clay that is beginning to crack, by adding a tiny amount of water and wrapping it back in the wrapper. I usually spray some water into a cup and use my finger to wipe around the inside of the cup and then dab my finger on the clay. Wrap your clay back up in the wrapper and using the roller, press the clay to flatten it. Now open the wrapper, add another dab of water and fold the clay in half. Repeat the process of rolling it out between the wrapper, then pop it into the packaging and leave for at least 2 hours. Overnight is better.
- Reviving clay: it's quite normal to have to revive clay and I do it almost every time I make something. A good practise is to make your piece and then roll up the spare clay and wrap it back in the packaging straight away. Take a couple of seconds to do this first before you start working on your piece.
- I never waste any clay: If you've made a piece and it's in the greenware phase (it's dry but not torch fired) you can turn it back into workable clay. I like to turn pieces which haven't turned out as I wanted them to into paste because I use it to make flowers, frogs, etc, from tiny moulds.
- Here's the process for recycling clay to make paste: I break the dry clay into small pieces and place them in a lidded pot, along with any dust from filing. I don't grind up the pieces because I find that makes a lot of mess. There are videos on Youtube if that's what you'd like to do. To make paste, spray water into the pot and pop the lid on. I generally leave it overnight. If the broken pieces are still dry, I repeat the process, until I can stir it and it has turned into a thick paste.
- Don'ts: Don't recycle your clay until you need it. Otherwise, it will keep drying out. That's not a problem, because you simply add a spray of water to soften it. However, there's only so much water than you can add before the consistency begins to change, so just be aware.
Ready to start your silver metal clay journey?
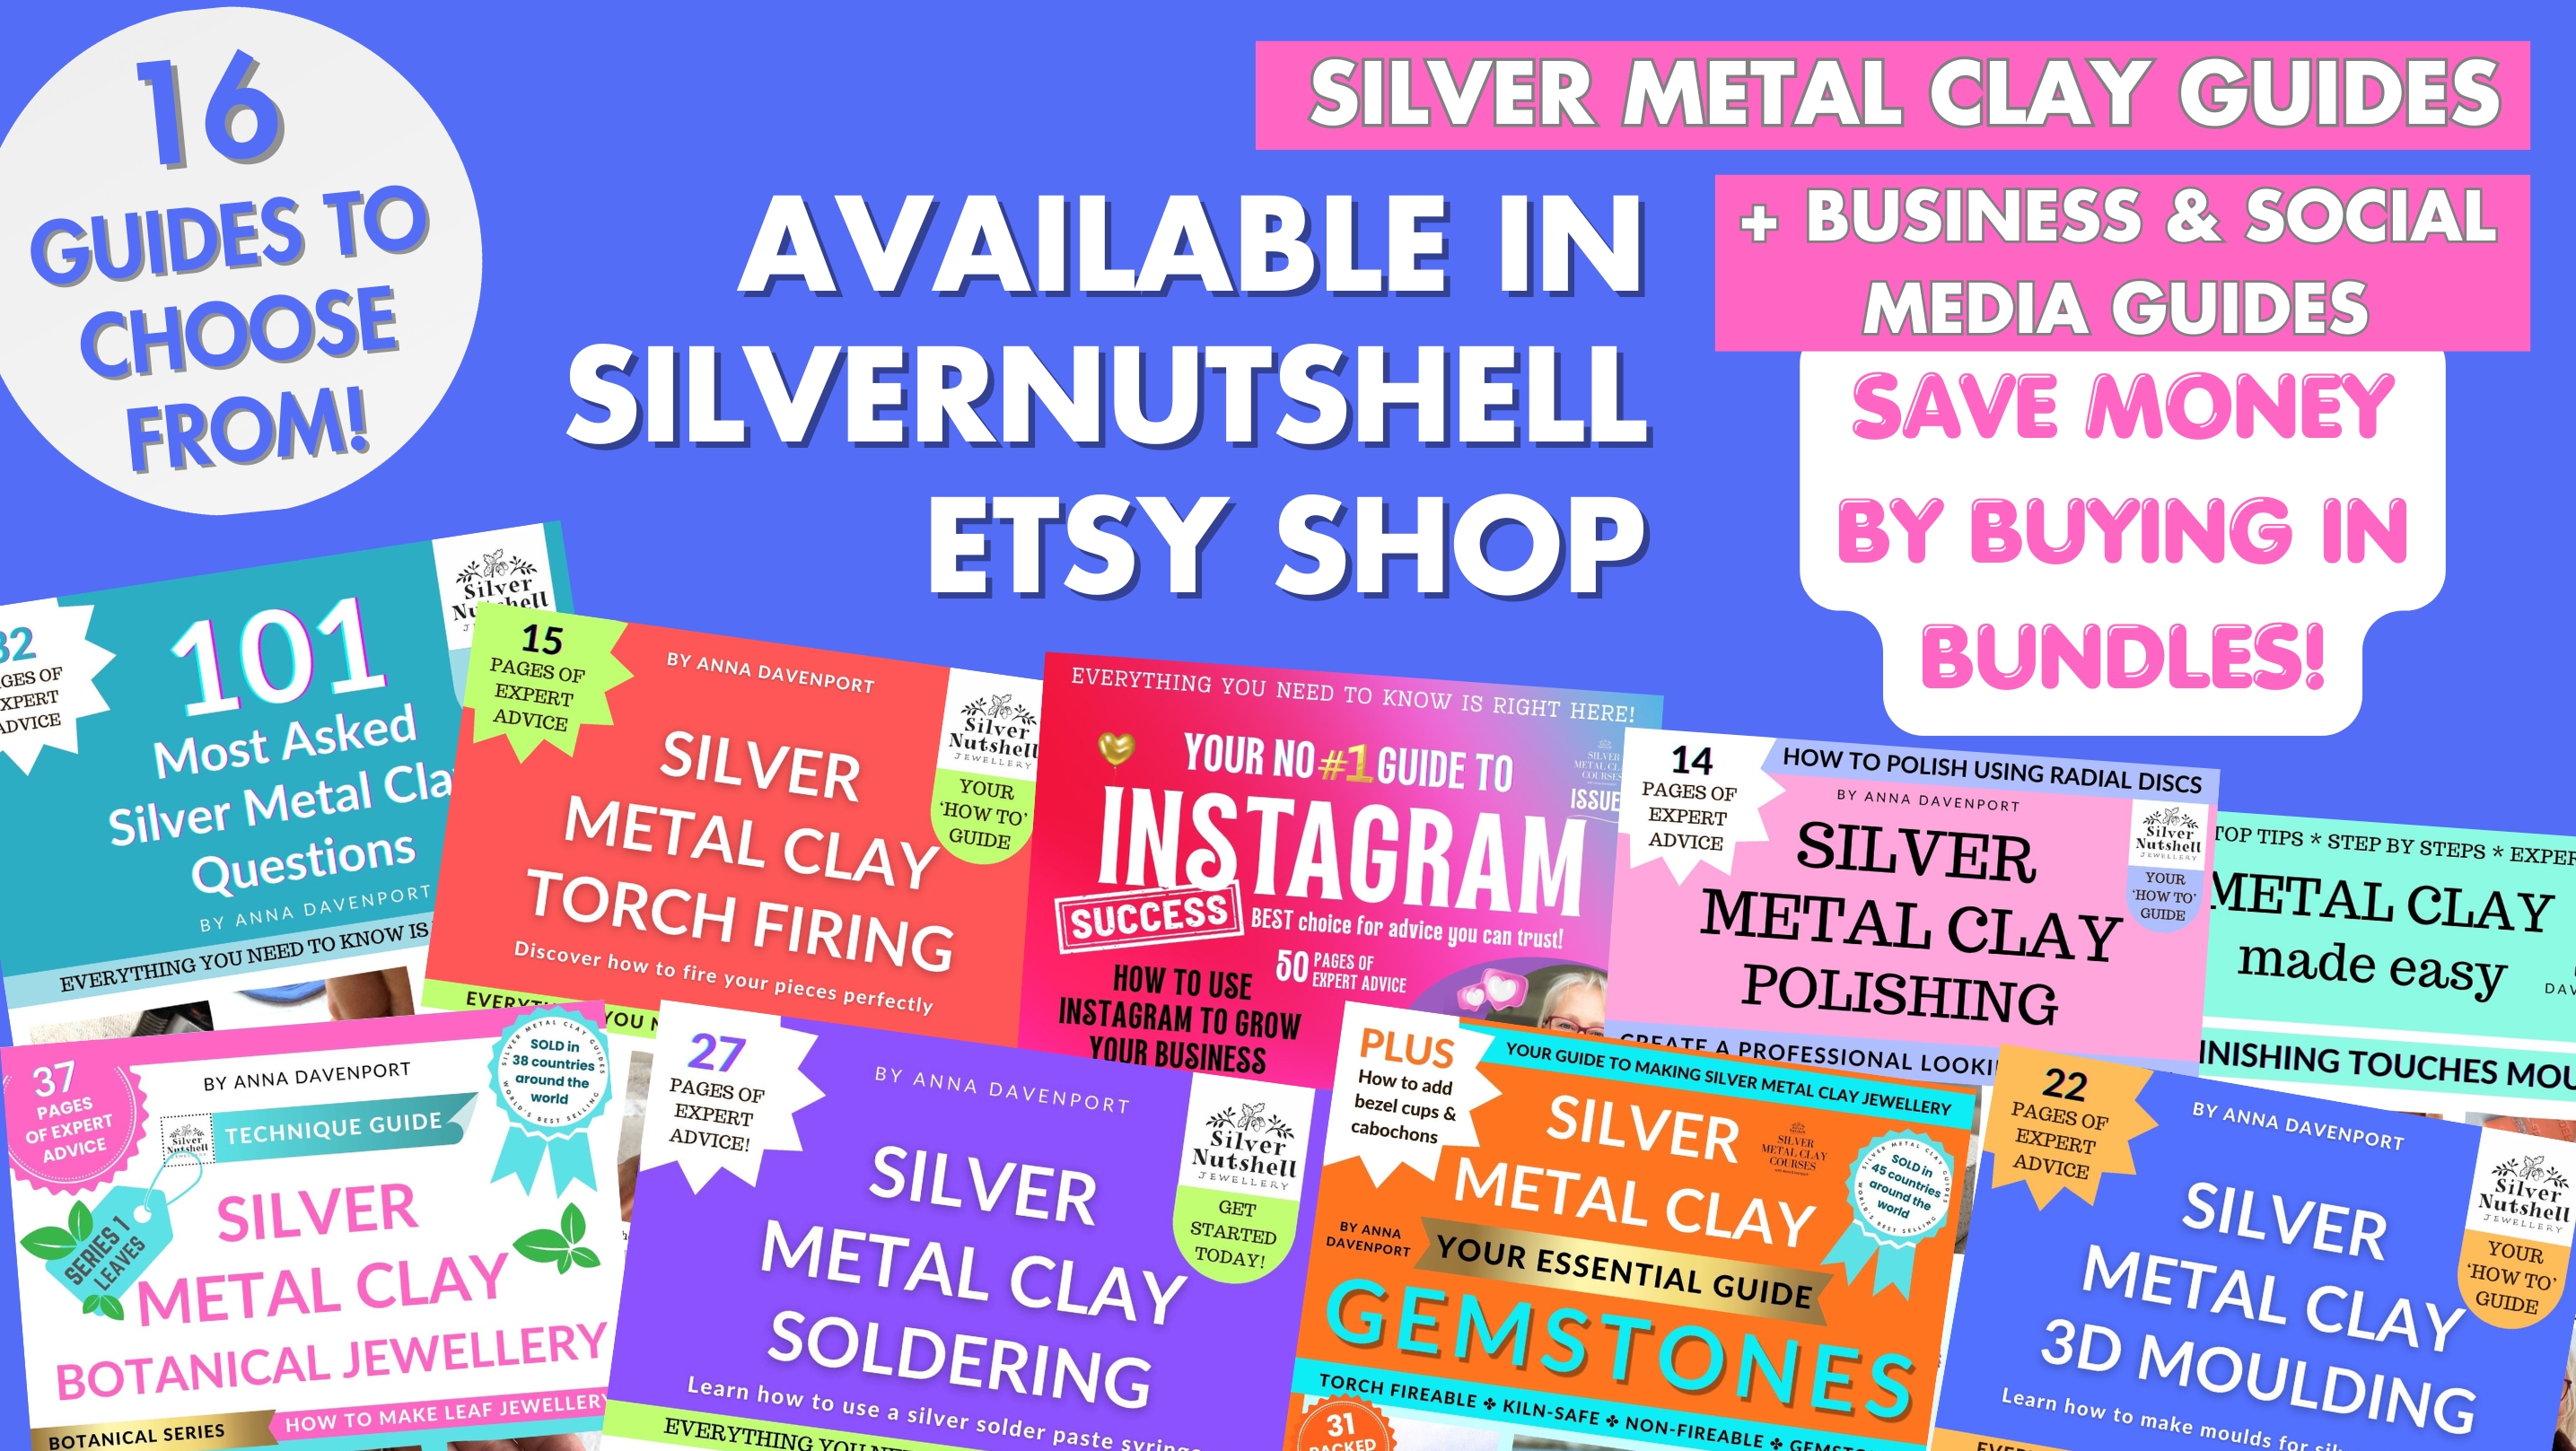
You will find all of my Silver Metal Clay Guides as individual PDF Guides and some are on offer in Bundles in my Etsy shop, Silvernutshell. CLICK the image below to have a browse. If you prefer reading about silver metal clay technique, you can fast-track your learning because each PDF is an instant download, meaning that you can start creating straight away.
Recent Etsy Reviews
- "So useful! It really helped me get to grips with metal clay. I was quite nervous before reading this but felt a lot more confident after! Marvellous!" — Review for "101 Q&A Guide"
- "Love that it downloads instantly—immediately ready to read! Clear and concise as are all this seller's PDFs. Can't wait to try the new clay! Recommend seller!" — Review by Marianna
- "Such a well-written and easy-to-follow guide. I have several of Anna's metal clay guides and they are all so helpful. I recommend them highly!" — Review for "Soldering Guide"
- "This book covers almost every question I can come up with. It's got great photos to go along with with description/instruction." — Review for "Polishing Guide"
- "Brilliant ! searched everywhere and watched loads of videos, this by far was the best on 3D moulds." — Review for "3D Moulding Guide"
BUY SILVER METAL CLAY GUIDES
Join makers in over 47 countries who have used these bestselling guides to transform their creative ideas into solid, fine silver jewellery.
If you prefer learning online, I have built the perfect step-by-step path for you:
-
The Megacourse: Everything beginners need to confidently get started
-
Ringmaking Masterclass: Learn to design and create gorgeous gemstone rings
-
Enamelling Made Easy: Take your skills further with vibrant colour techniques
-
Gemstone Setting Secrets Made Easy: The go-to course for mastering cabochon settings
BUY ONLINE VIDEO COURSES