How to use enamels with silver metal clay
Oct 02, 2025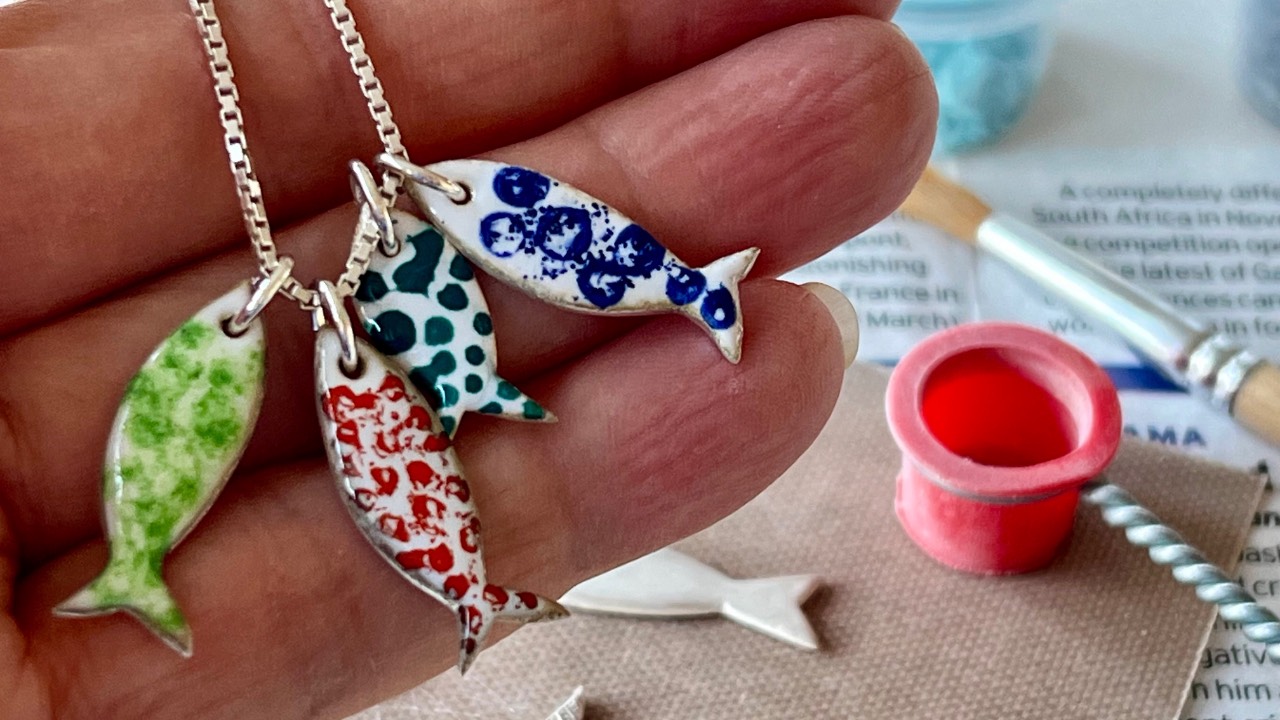
By Anna Davenport, Founder of Silver Nutshell
Did you know that you can add colour to your silver metal clay pieces with enamel powder and a hand held torch? And, with the help of my Enamelling Made Easy online video course, it's quick to learn and easy to do.
LEARN ENAMELLING ONTO SILVER METAL CLAY, WITHOUT THE FUSS!
I always do lots of research before I launch any new course. I like to use my experience and also curate information that's 'out there' because there is so much to read on the internet. Not all the information is relevant, practical or even accurate, and if you're a beginner to enamelling, it's best to have a simple path. You need a course that gets you from the start, to a finished piece of enamelled jewellery, with as little fuss as possible.
That's why I've sifted through all that information and filmed my ENAMELLING MADE EASY online video course, so that you don't have to do any of that mindless searching. Click on the link above to see what's inside this best selling course, which includes everything that you'll need to get started with enamelling.
CAN I ENAMEL ONTO SILVER METAL CLAY?
Some of you have written to say that you've never tried enamelling because it all sounds too confusing! And, you've said that there's not much out there about enamelling onto silver metal clay. I'll admit that it's a big subject, but please don't let that put you off. That's the exciting part because once you've learnt the basics, you can start creating your own unique designs. Enamelling is much easier than you think. and these results speak for themselves. You don't need many more tools or equipment to start. So, what do you need?

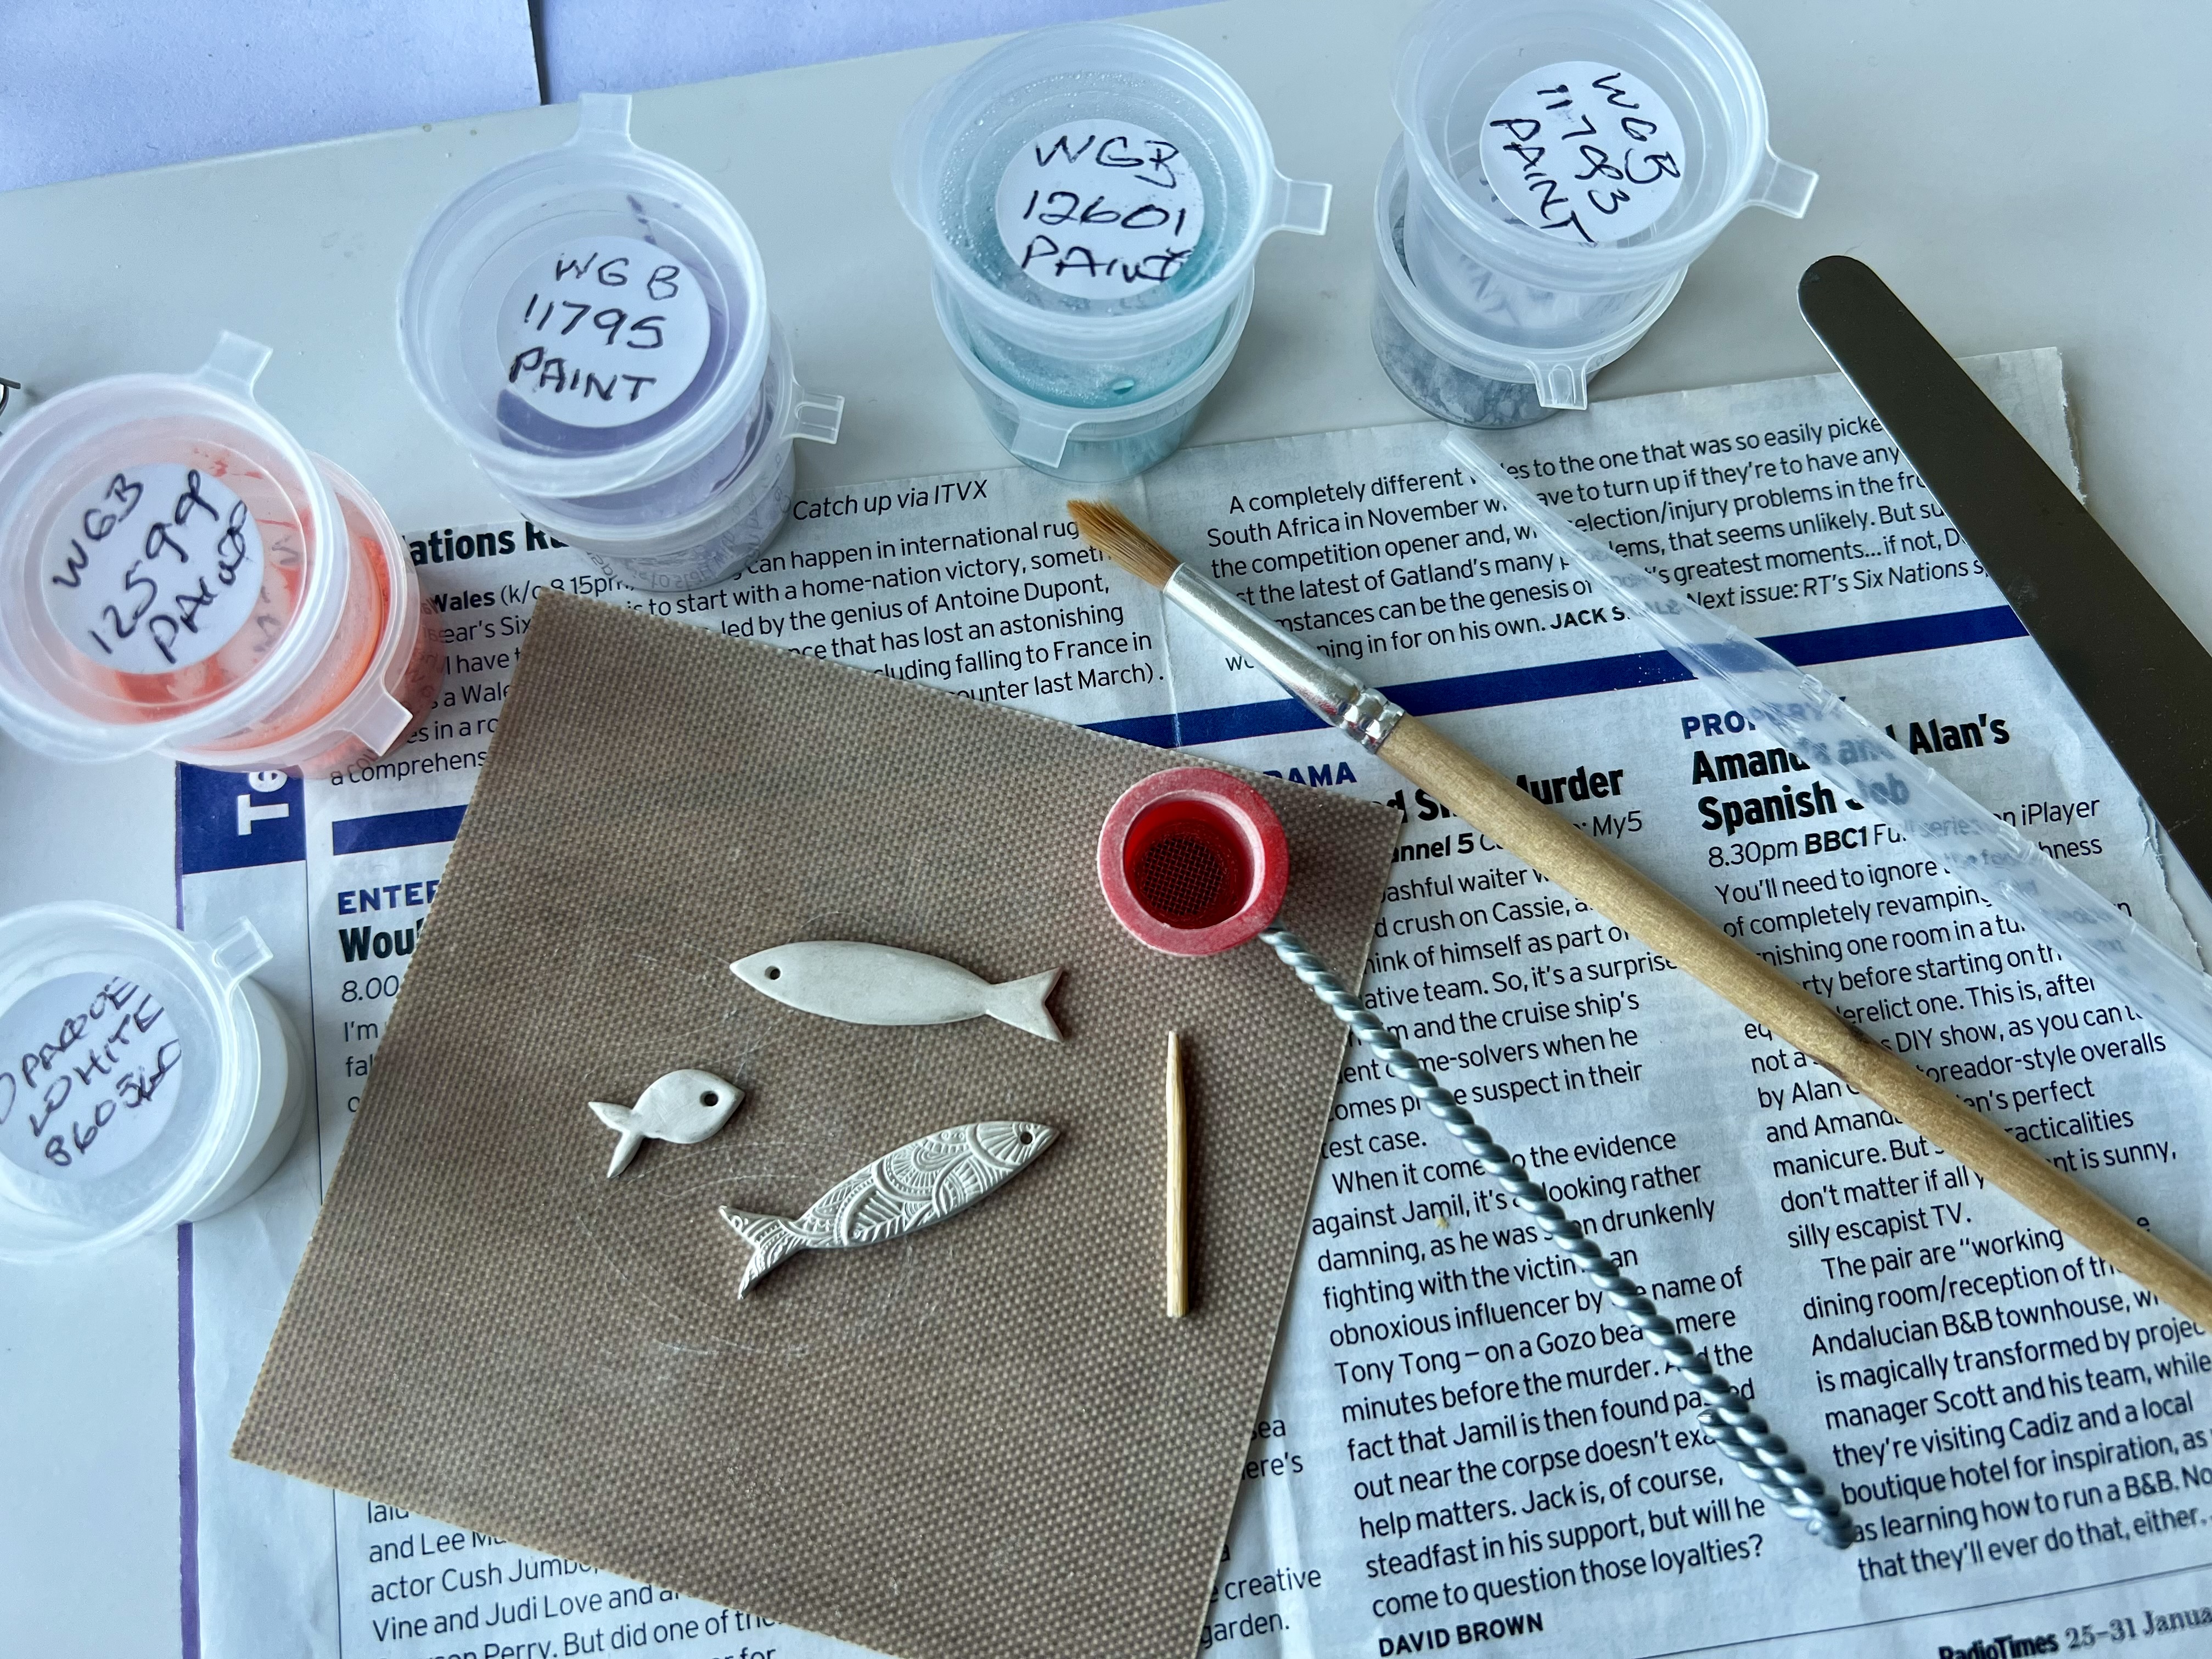
BASIC TOOLS AND MATERIALS
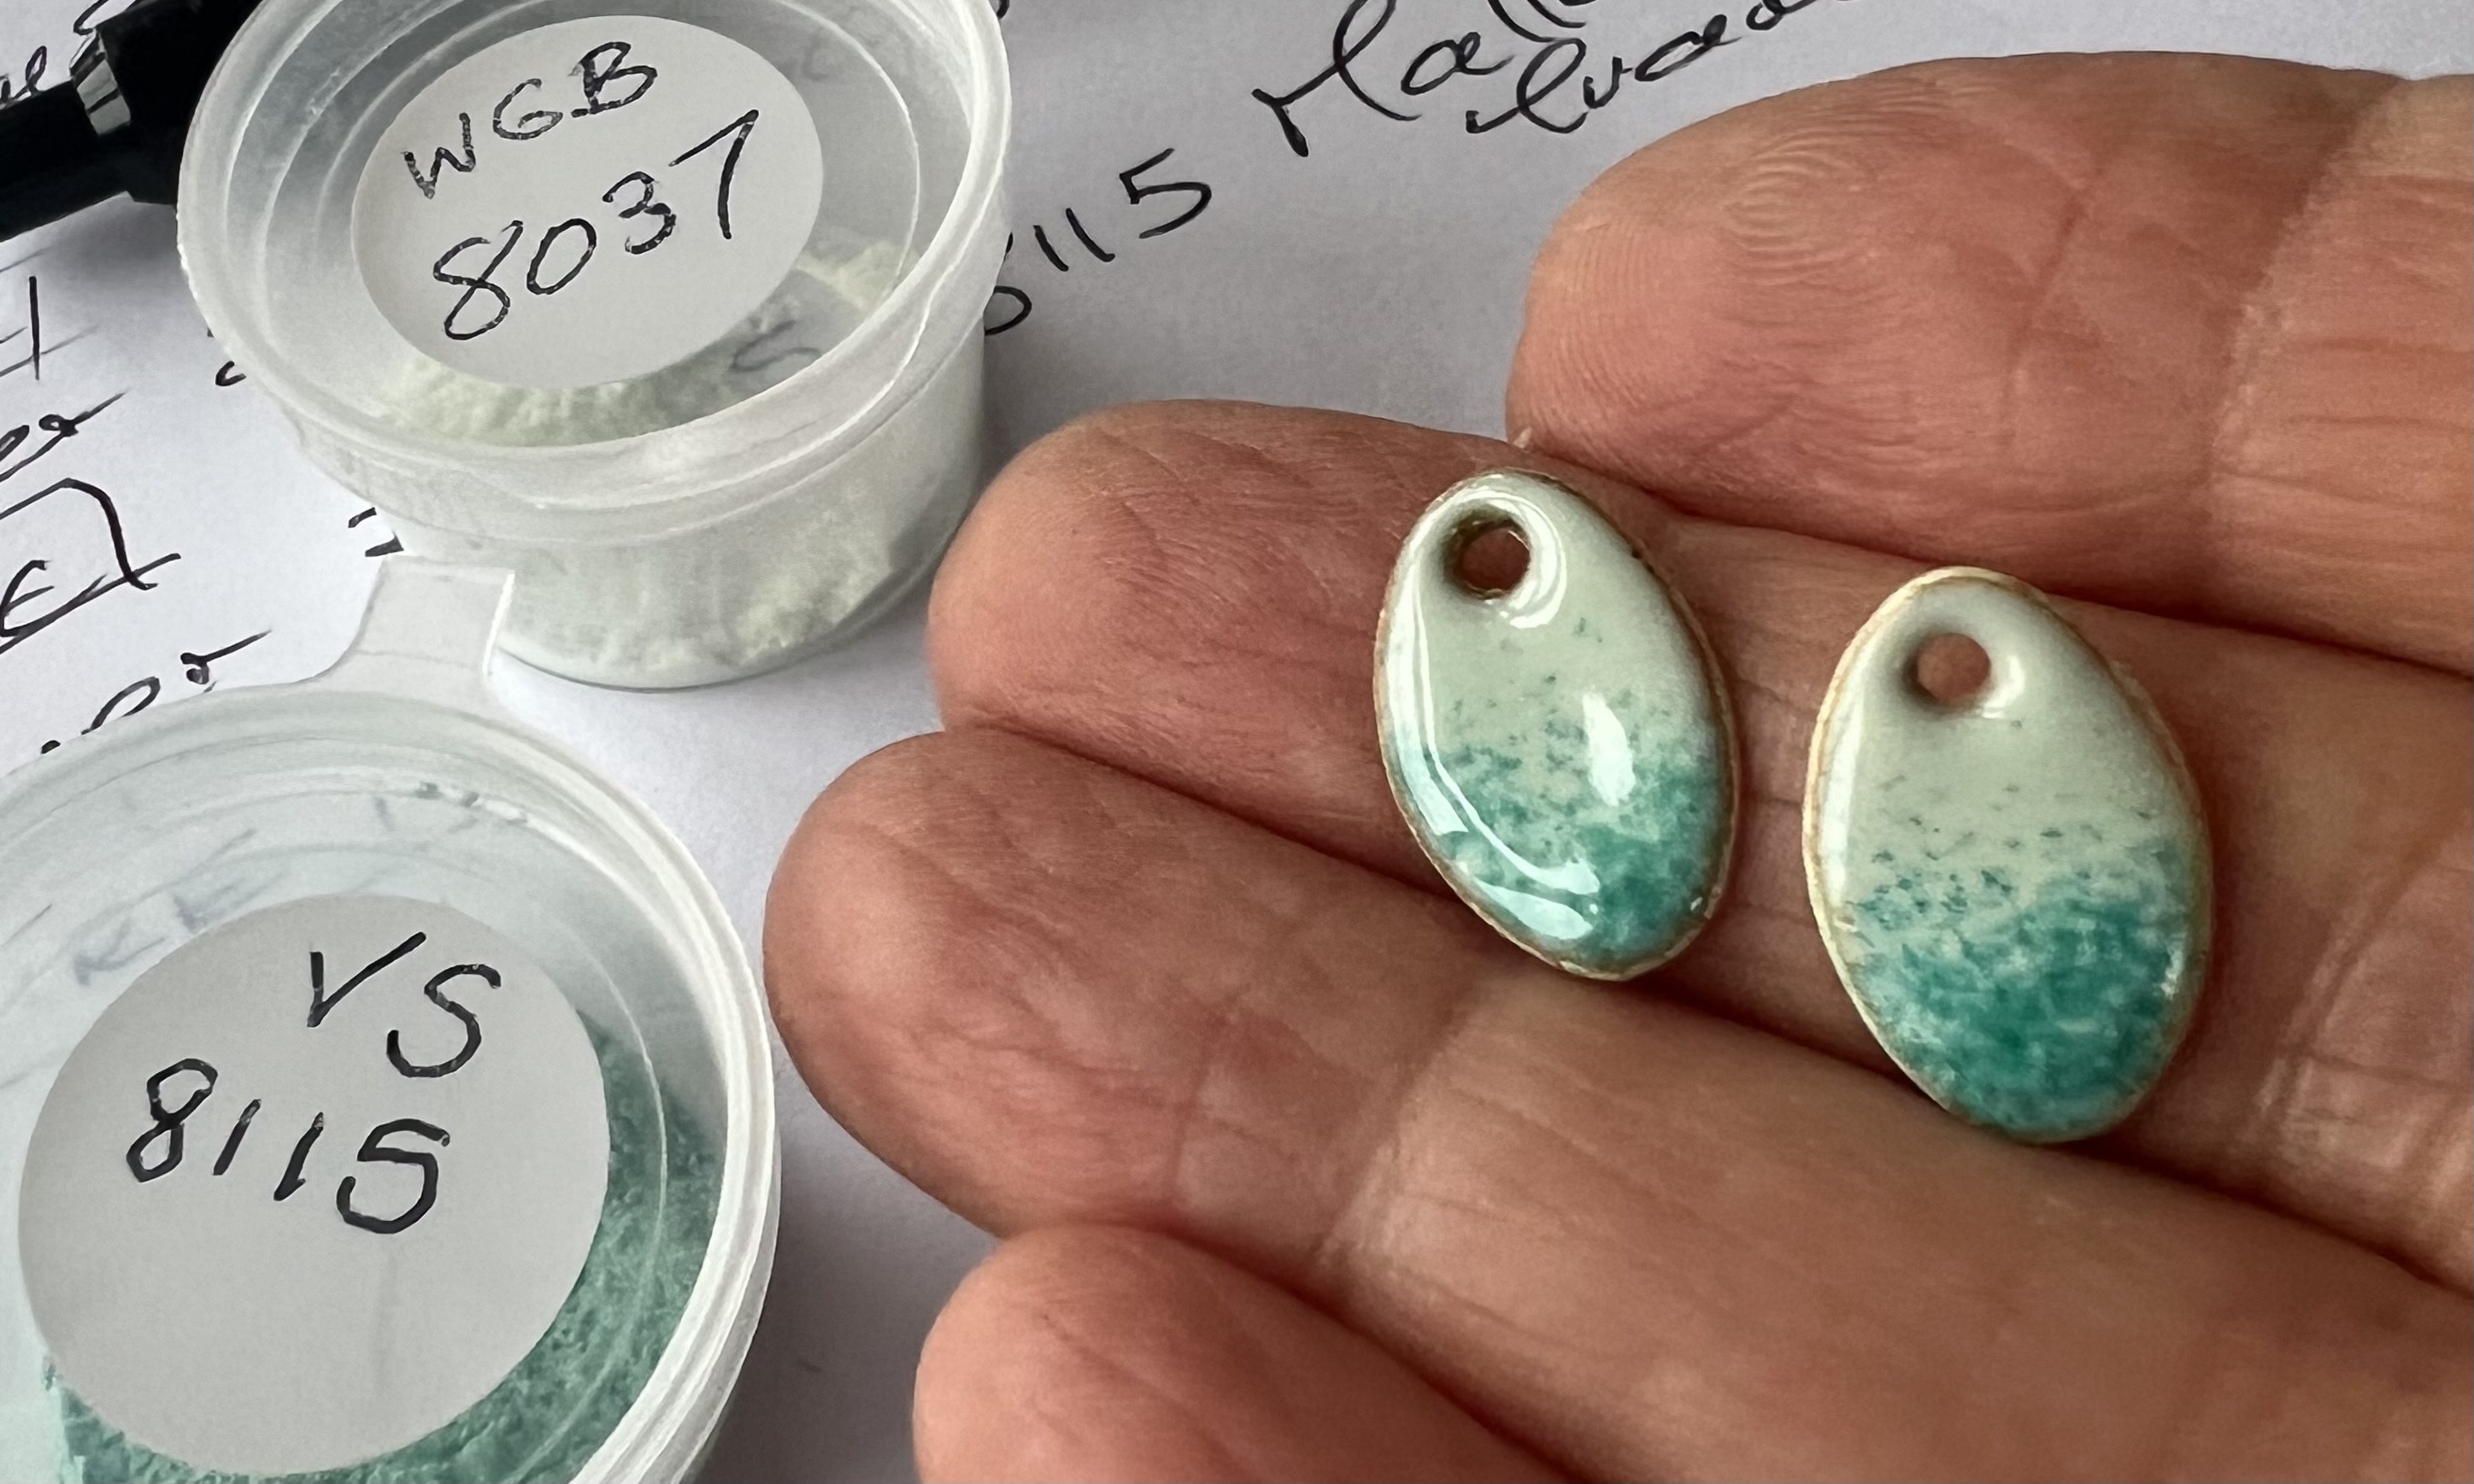
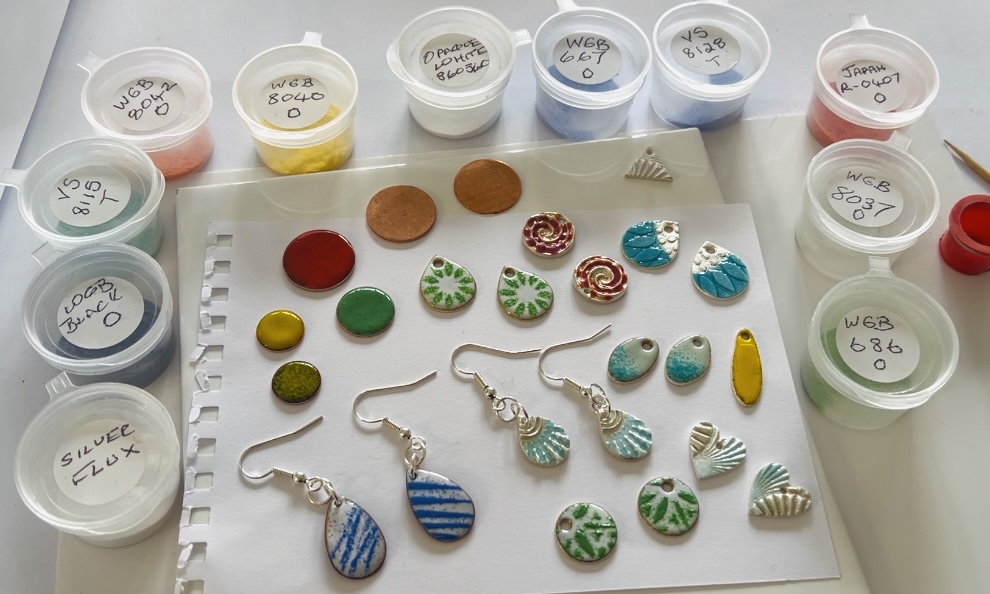
You will need to buy some powdered enamel. Get hold of a couple of colours of opaque, transparent and painting enamels. Go for cool colours, such as blues and greens because these are easier to start with. I use W G Ball enamels in all my videos and for the online video course. Honestly, you'll find the most difficult part is choosing which colours to buy!
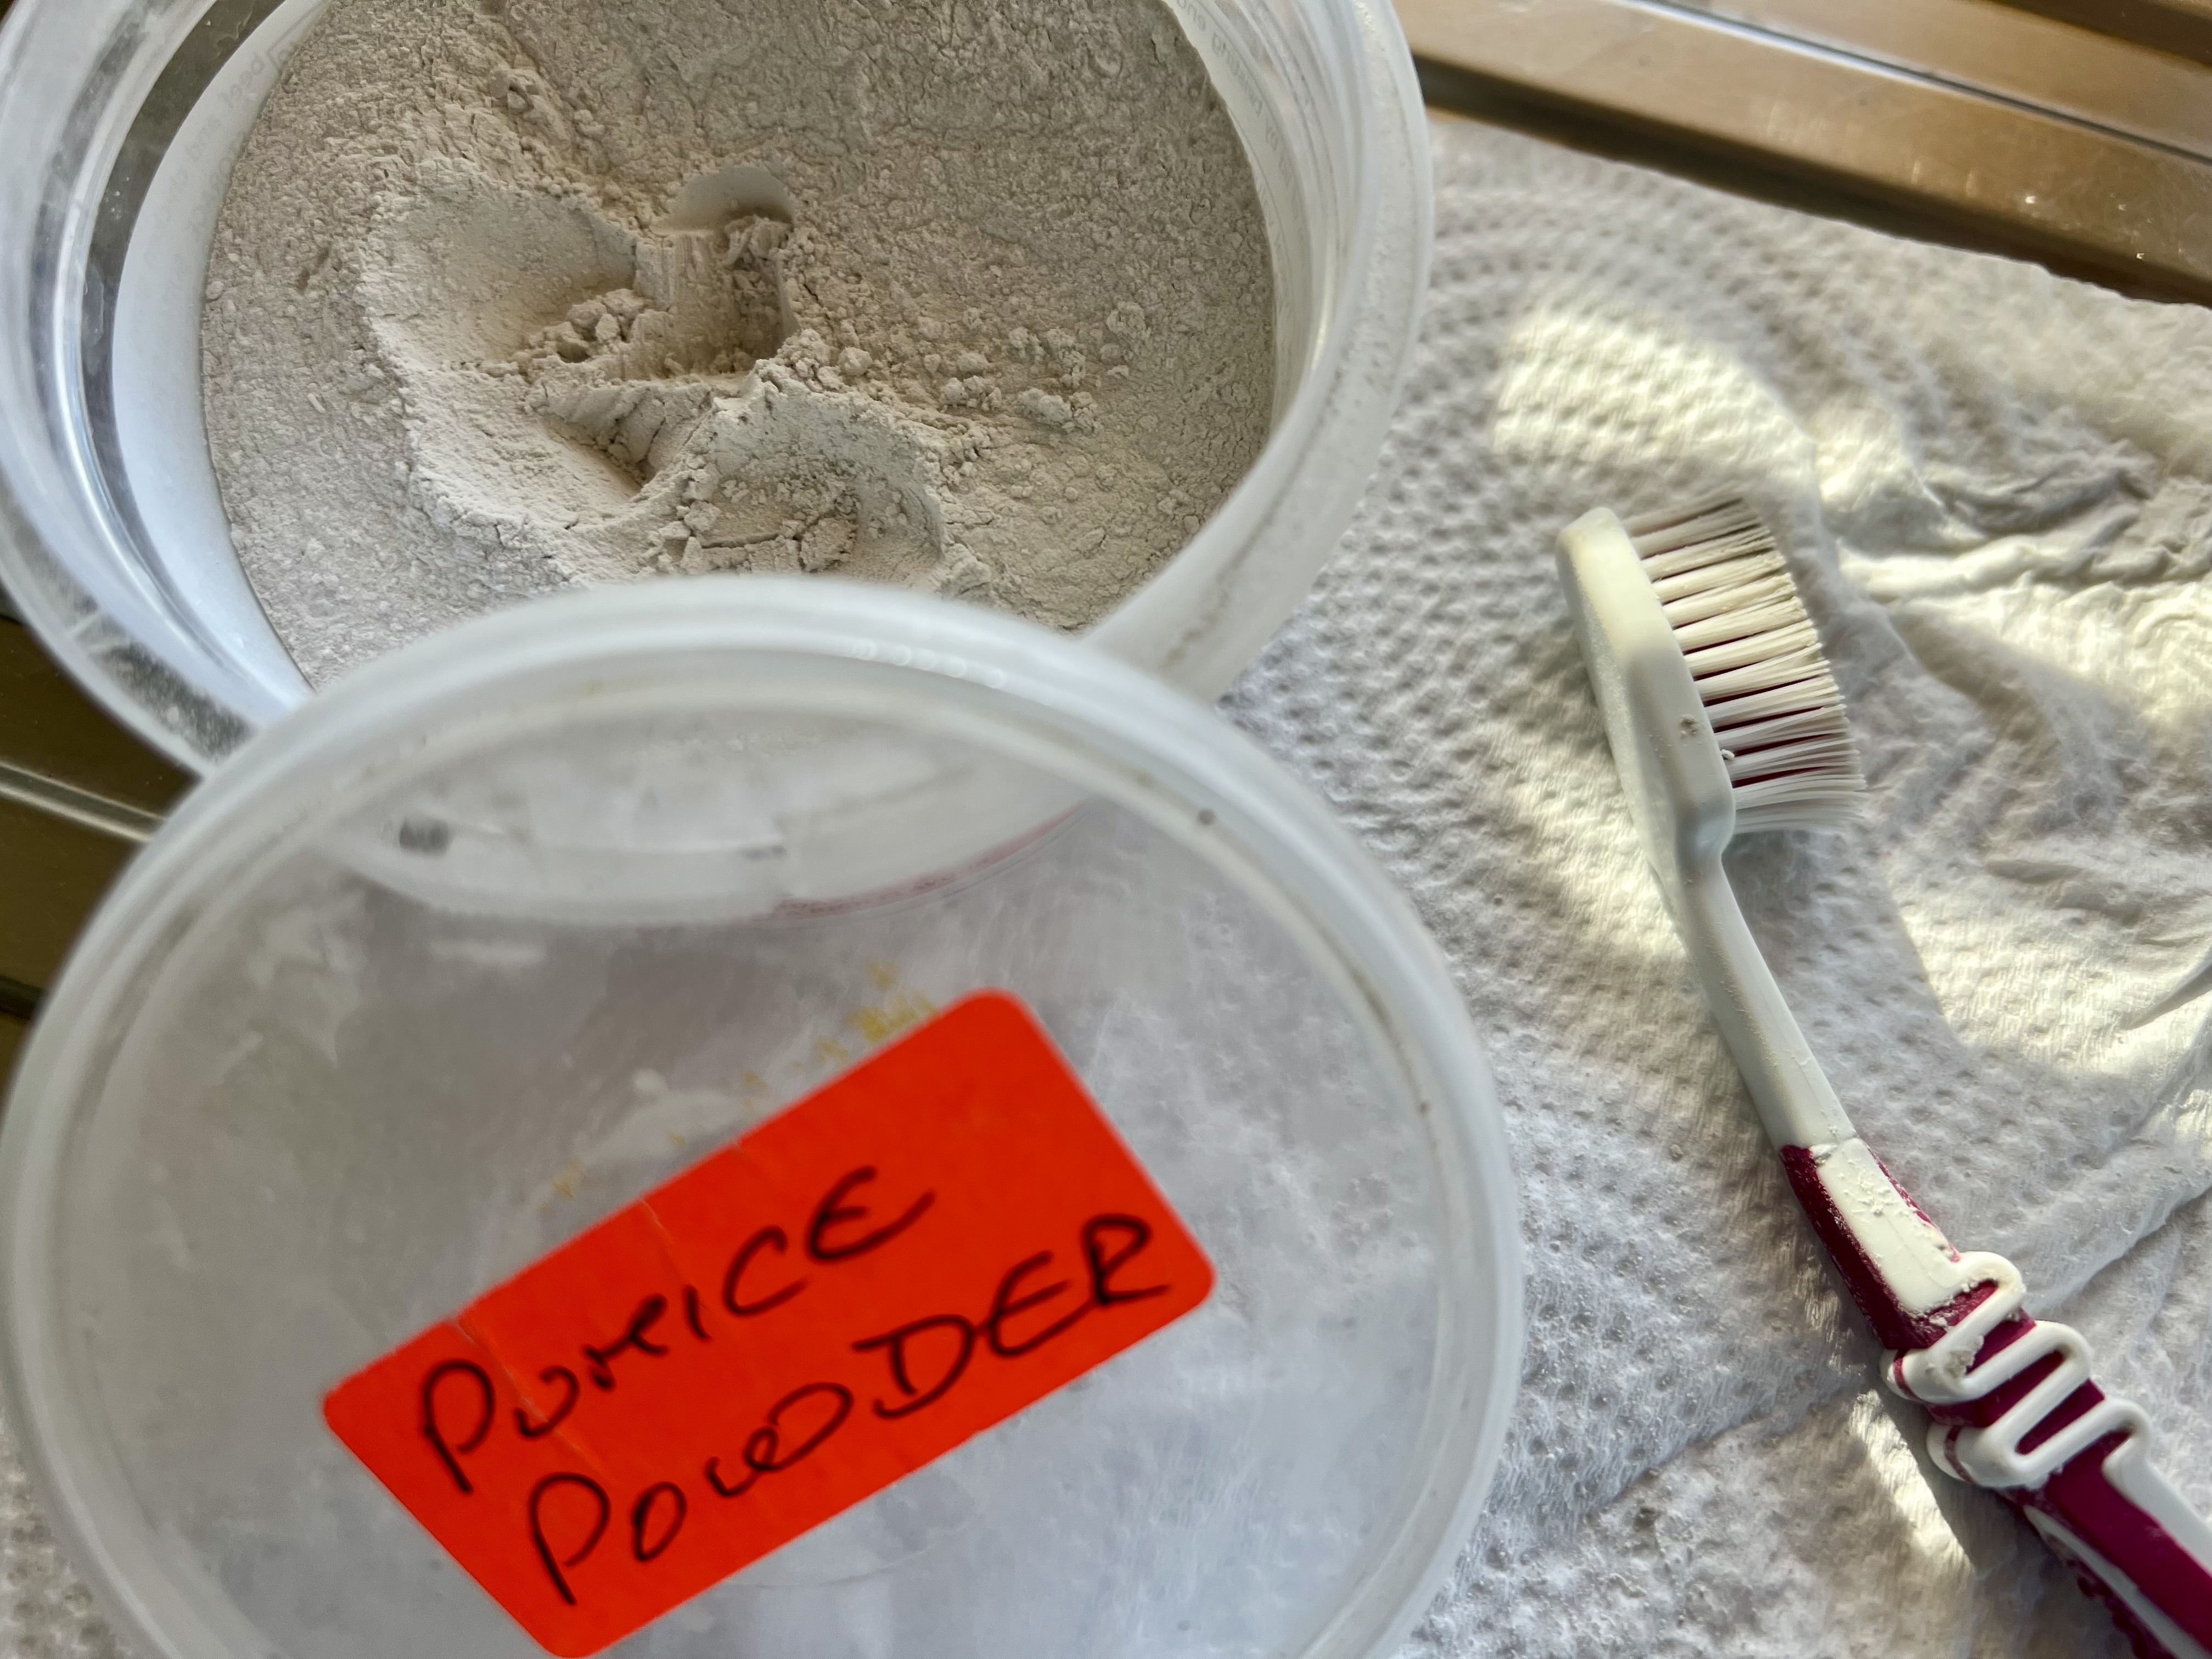
Buy some pumice powder for cleaning your pieces, and you can use this with an old toothbrush. You will also need a sifter, mine is the tiny 40 mesh screen sieve, so you can sift the opaque or transparent enamels directly onto your piece. Get hold of a palette knife, or you can use a flat, round bladed knife like a butter knife to lift your pieces onto the wire mesh, and you'll need some tweezers. Mine are brass. Please don't use plastic!
Lastly, you need and tripod and some stainless steel wire mesh. You can either buy a large piece and use wire cutters to trim off the amount that you'll need, or buy a piece already cut. You'll use this to enamel onto. If you don't want to buy a tripod yet, you can stack the larger soldering blocks on their side and rest the wire mesh on the top. It's height that you need because you will be torch firing from underneath.
BASIC PROCESS
You'll need to start with some silver metal clay pieces, all finished and polished. Opaque enamel powder works brilliantly on smooth pieces, whereas transparent enamel is great for more textured pieces. Start by cleaning your pieces with pumice powder, brushing with a toothbrush and rinsing them ready to use.
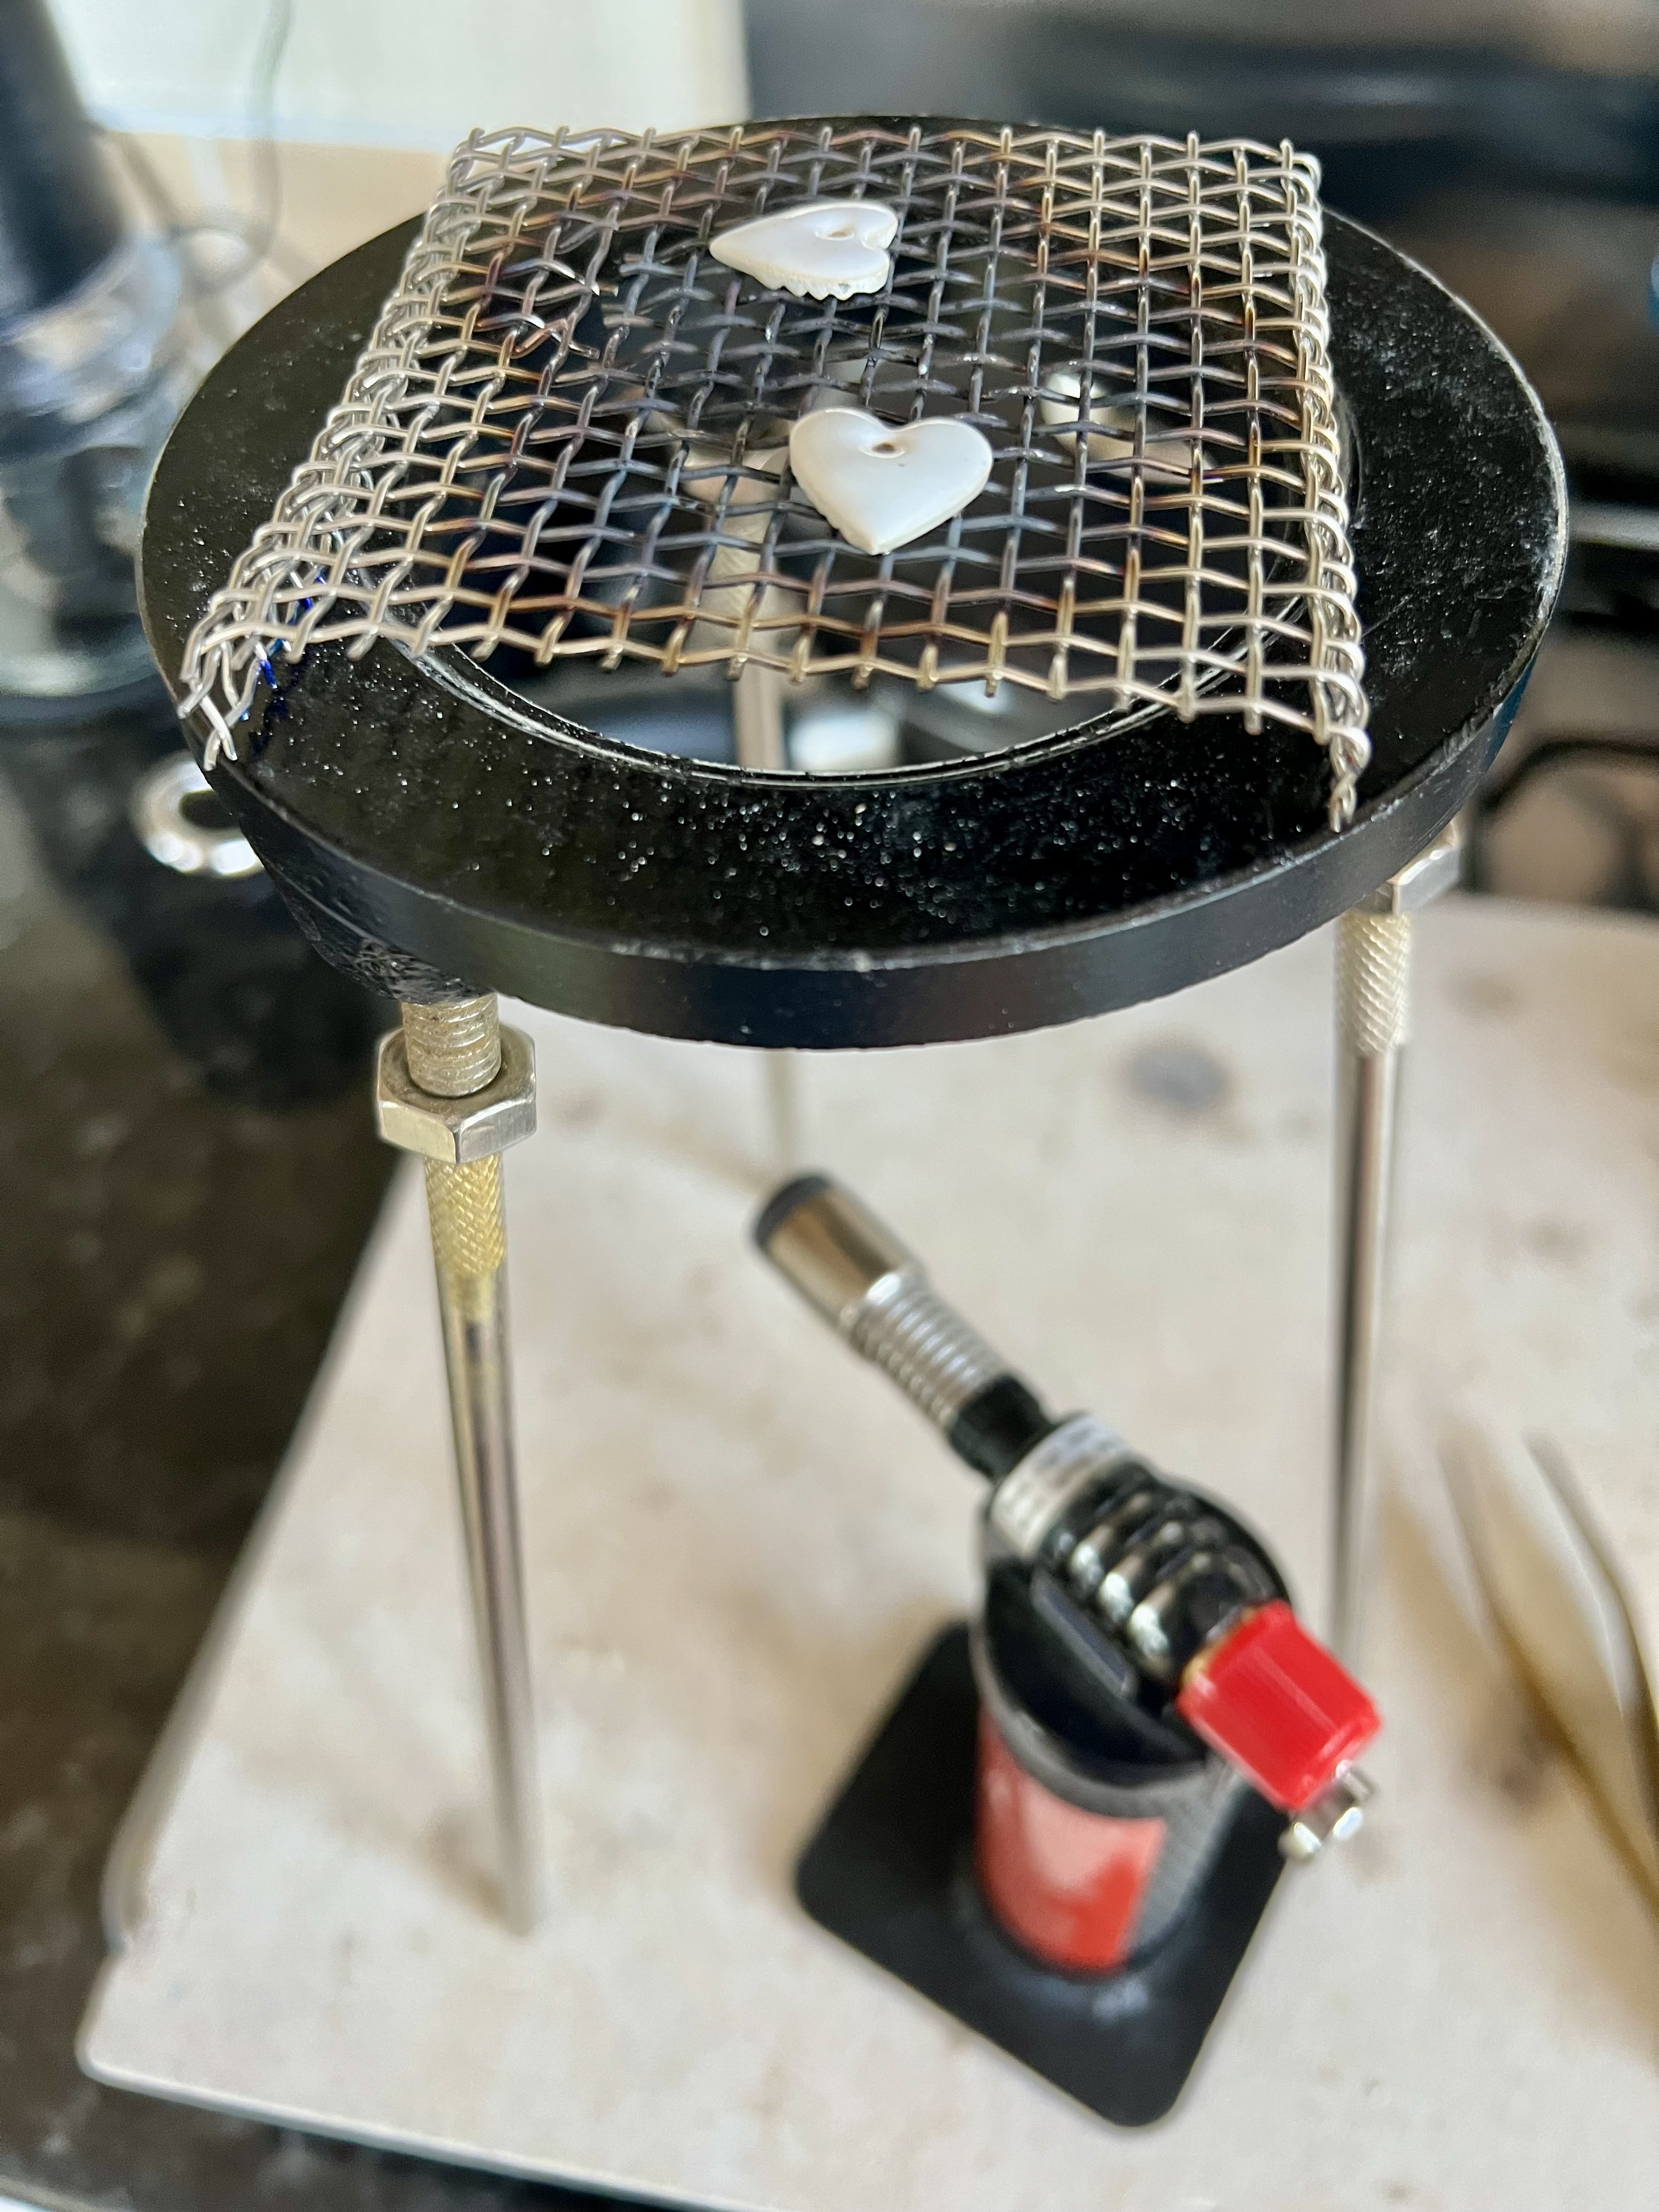
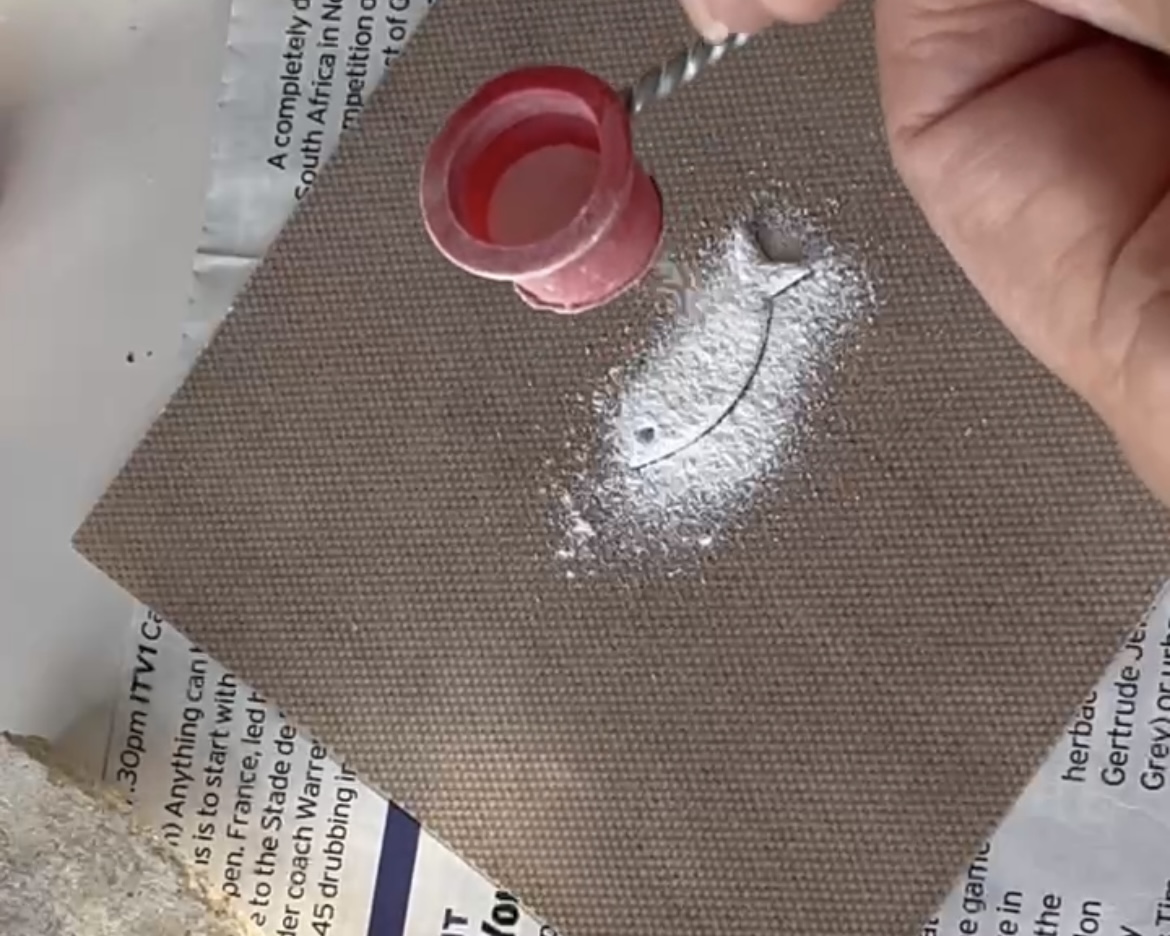
I like to pop my piece onto a teflon mat and sift the enamel powder carefully over the top. Now, lift it onto the stainless steel mesh and place it on the tripod. Using a hand held torch, torch fire the enamel powder from under your piece until it fuses together to create a smooth enamel surface on your piece.

THE 3 STAGES OF ENAMELLING
You will see the enamel go through three different stages when you apply heat.
1/ Granular stage - this is when you're heating the piece but the enamel is crystal-like and not melted.
2/ Orange peel effect - this is when the enamel is beginning to melt but you can still see grains of powder
3/ Glossy stage - this is the final stage where you can see that the enamel has fused together and it is fully melted, resulting in a shiny, glossy surface.
TOP TIP >> if your enamel hasn't got to stage 3, keep heating it. If you've let it cool and can see that the enamel is still at stage 2, repeat the firing process and keep going until stage 3 happens.
In my Little Fishes Mini Series on Instagram, I showcase a lot of the processes, and share some of my best top tips. Join in the fun and follow me on Instagram @silvernutshell where I share videos every day about silver metal clay technique, and top tips.

5 MOST FREQUENTLY ASKED QUESTIONS about Enamelling onto Silver Metal Clay
What thickness does the silver metal clay need to be?
I usually roll to a 1.5mm or 6 cards thick
Why is silver metal clay so good for enamelling?
It's because the percentage of silver is so high. Once fired, silver metal clay turns into fine silver, which is .999 solid silver. That means that there's no oxidisation because there is so little base metal, making it a great metal to enamel onto.
Can I torch fire enamels?
Yes! It's what I do.
Do I need a special metal trivet?
Not if you're just starting out. If you are torch firing and want to do enamelling, just ensure that you can get underneath your pieces to fuse the enamel. That's why a tripod and a stainless steel wire grid is handy.
Why is there so much conflicting advice?
It's because your style of enamelling will be unique to you. Everyone who does enamelling experiments using different metals, enamels and techniques, which means that they get slightly different results. It's why I love enamelling because it's a unique process. Some people love the effect of the oxidisation with copper and sterling silver, because it creates possibilities and patterns for them that they can't get with any other metal, or technique. What works for one person, doesn't always for another. Some of us like to break the rules because that's the sweet spot where personality meets creativity. My advice would be to stick to the basic rules when you're starting out, and once you're familiar with how enamelling works, experiment for yourself and find your own path.
SAFETY FIRST
It's important to note that whenever you are using enamels, it is powdered glass. You don't want to inhale it, so if you're using it for a period of time, please wear a mask. I wear a simple fabric mask when I'm decanting my enamel powders from the bags into containers. I don't wear a mask for a simple sifting on a small piece, especially when I'm only making a few samples but I do for larger pieces, or for prolonged periods. I keep it by my side and am in the habit of popping it on for a few seconds when I am working with the dry powders. I don't use it when I'm wet packing, using painting or liquid enamels.
It's any fly away glass dust or particles that you're trying to avoid inhaling, so it's just a precaution that you need to decide on when you're working with the dry powdered enamel. Your safety is your concern. Take all the necessary precautions you need to keep yourself safe, and also when you are torch firing. Wear your goggles!
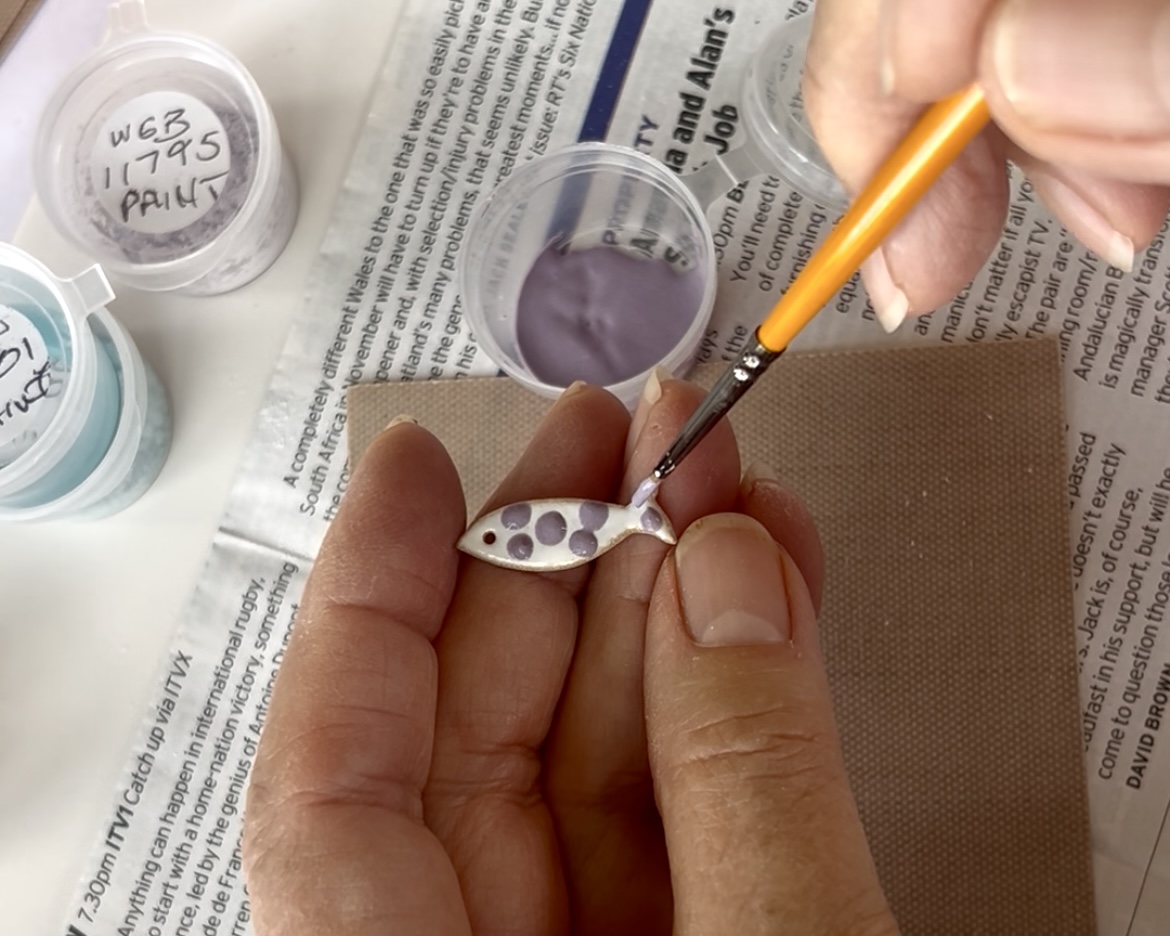
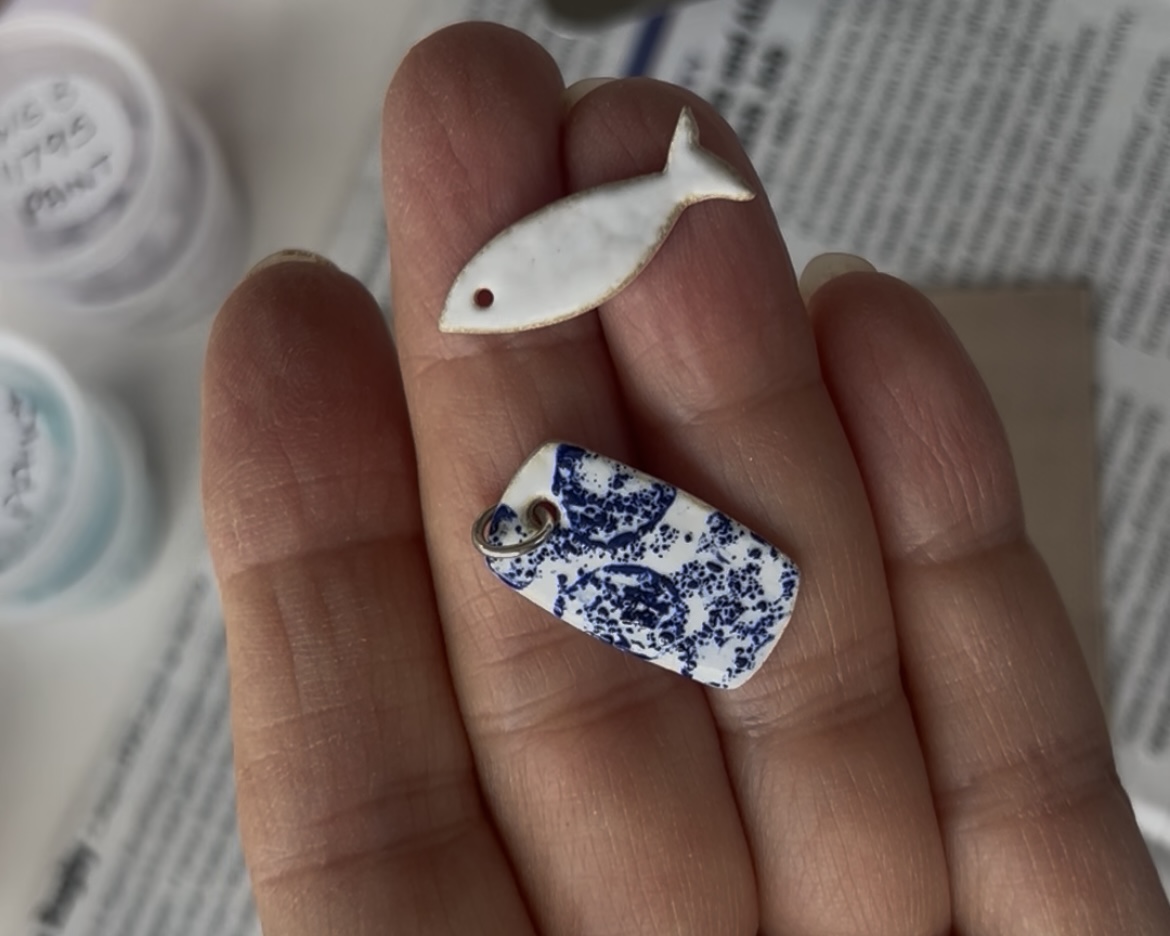
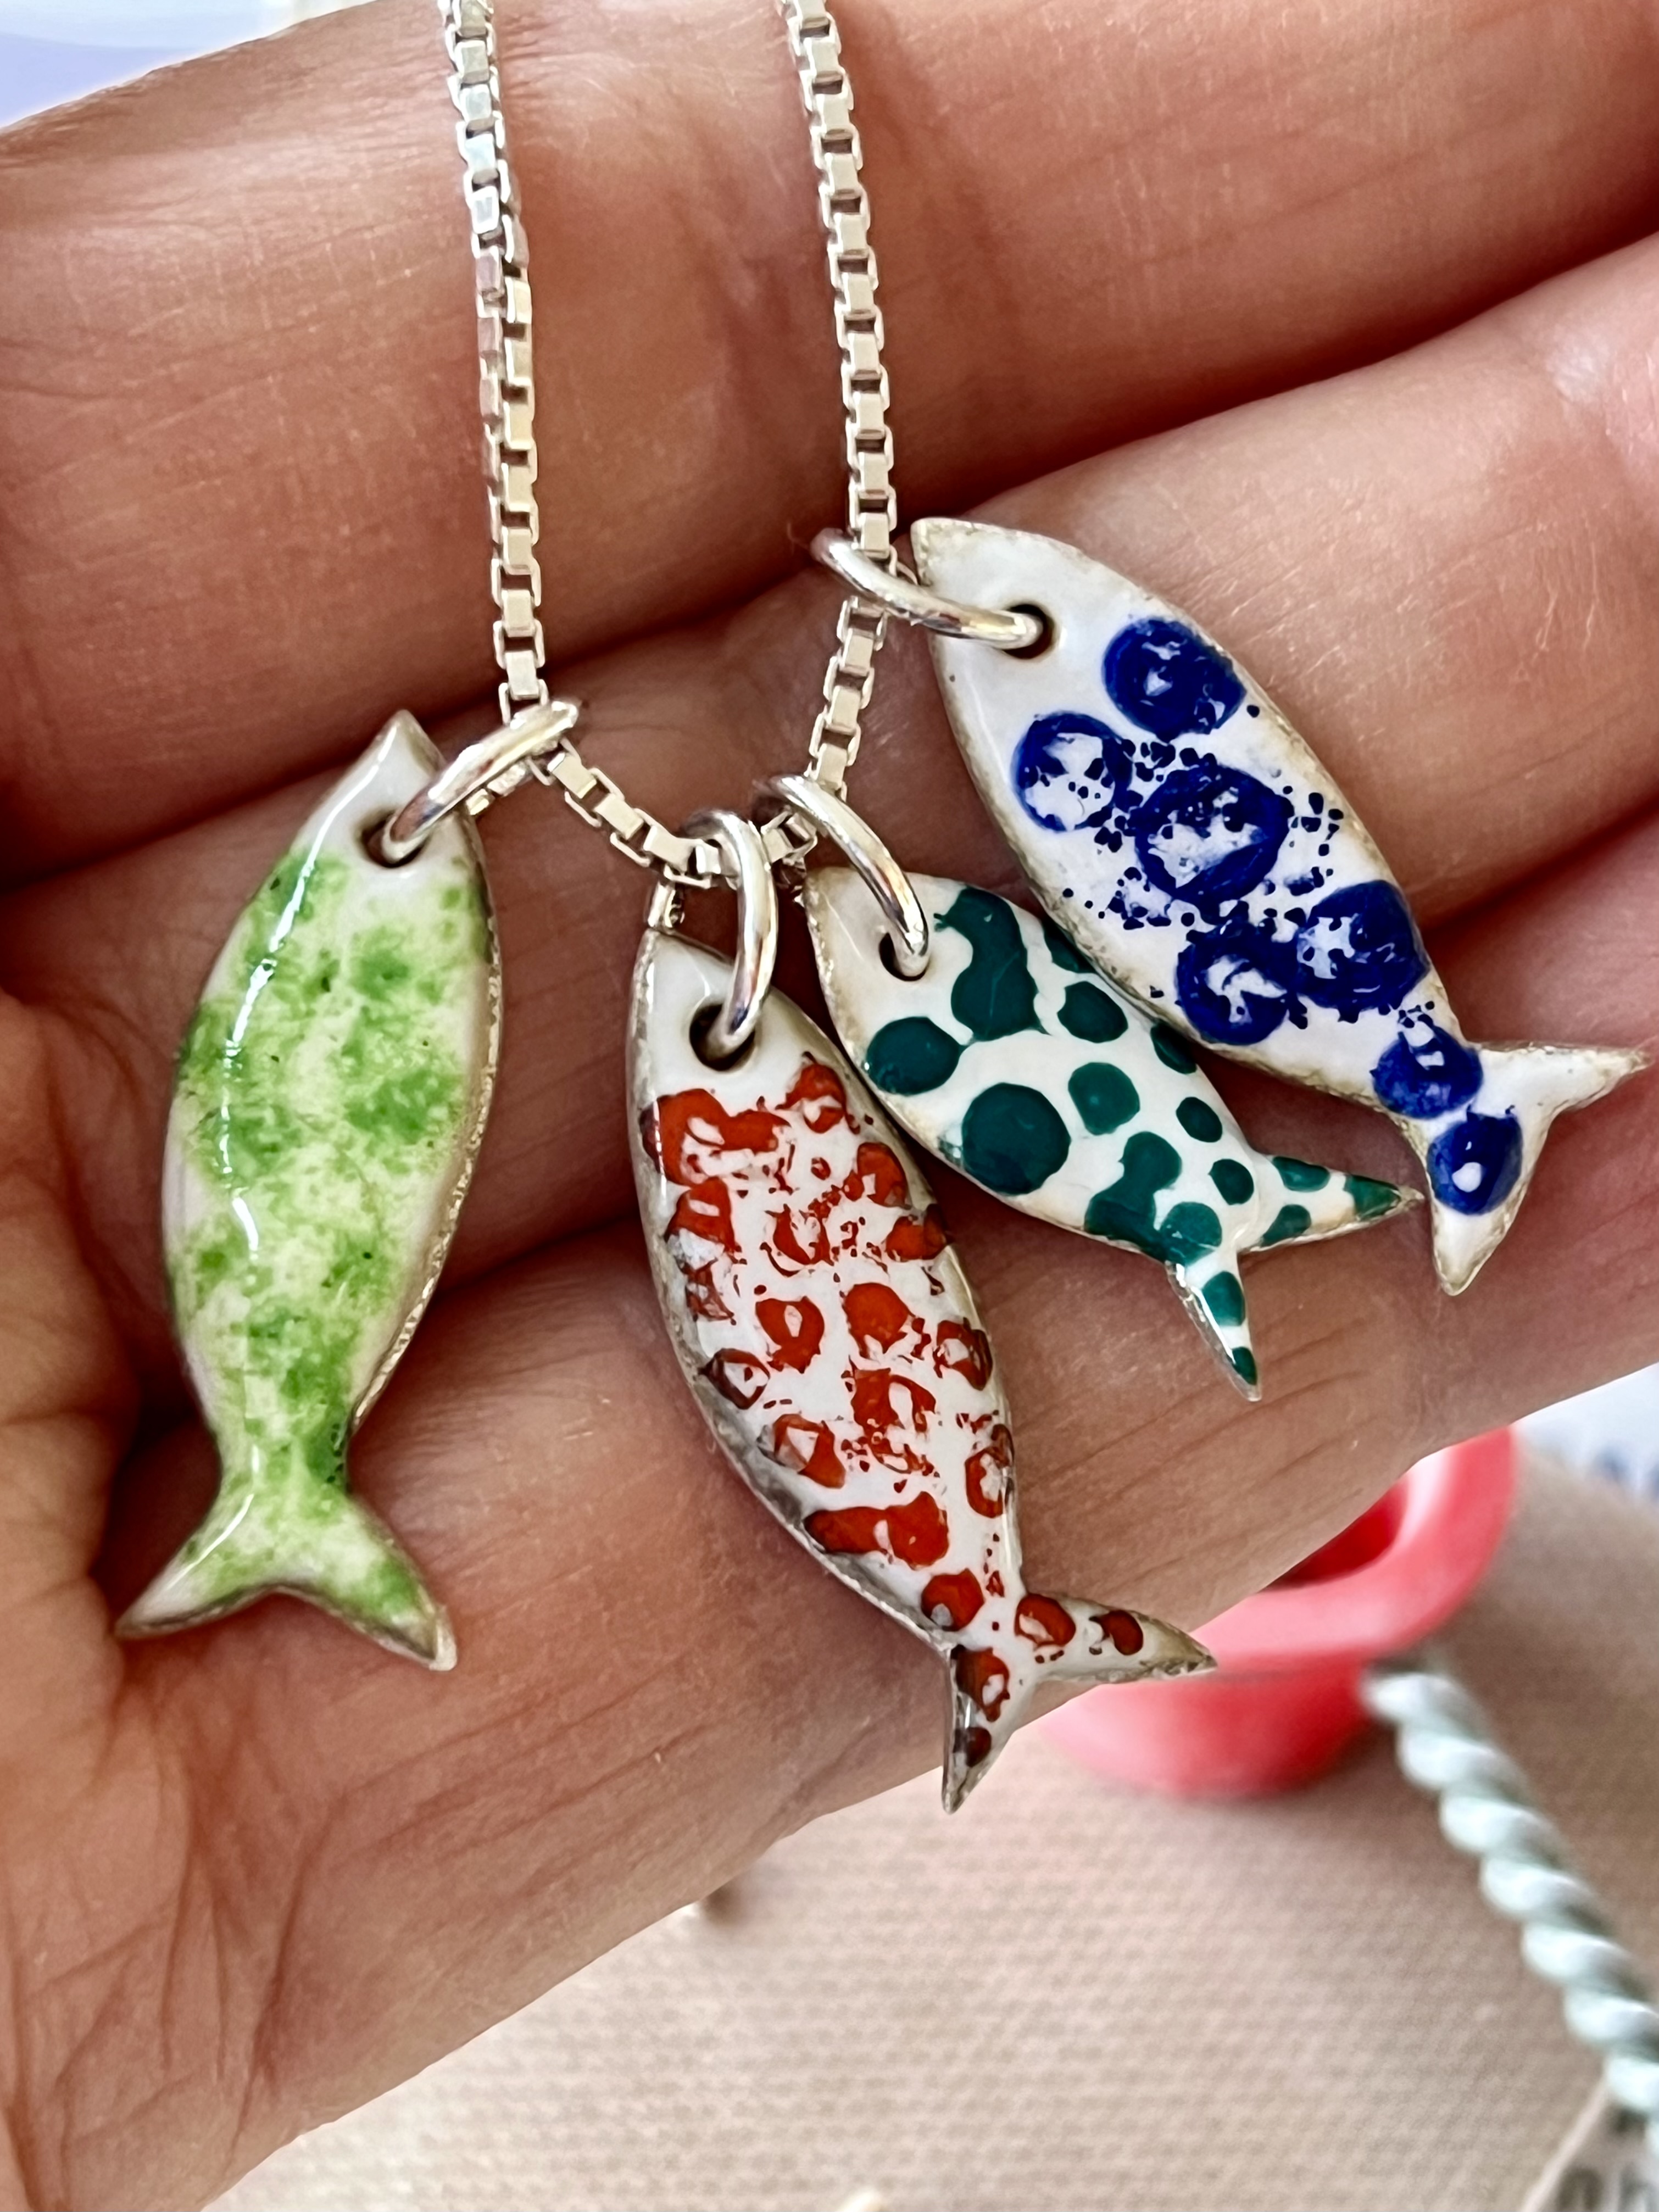
ENAMELLING THE LITTLE FISHES
If you follow me on Instagram, you'll have seen my Little Fishes Mini Series. I chose a fish because it is a really easy shape for anyone to make. In this Mini Series, I wanted to show how easy it is to take a simple shape, some enamelling powder and get instant results. You may be able to pick up the techniques just from Instagram if you've tried enamelling before. If not, then all these techniques, including the blue / orange and white china effect on these tiny fish can be found in my Enamelling Made Easy course. If you're interested in learning how to enamel onto silver metal clay, copper and get lots of handy hints to get you started and tricks to avoid going wrong, click the link below.
Take me to the Enamelling Made Easy course