What is Silver Metal Clay?
May 14, 2026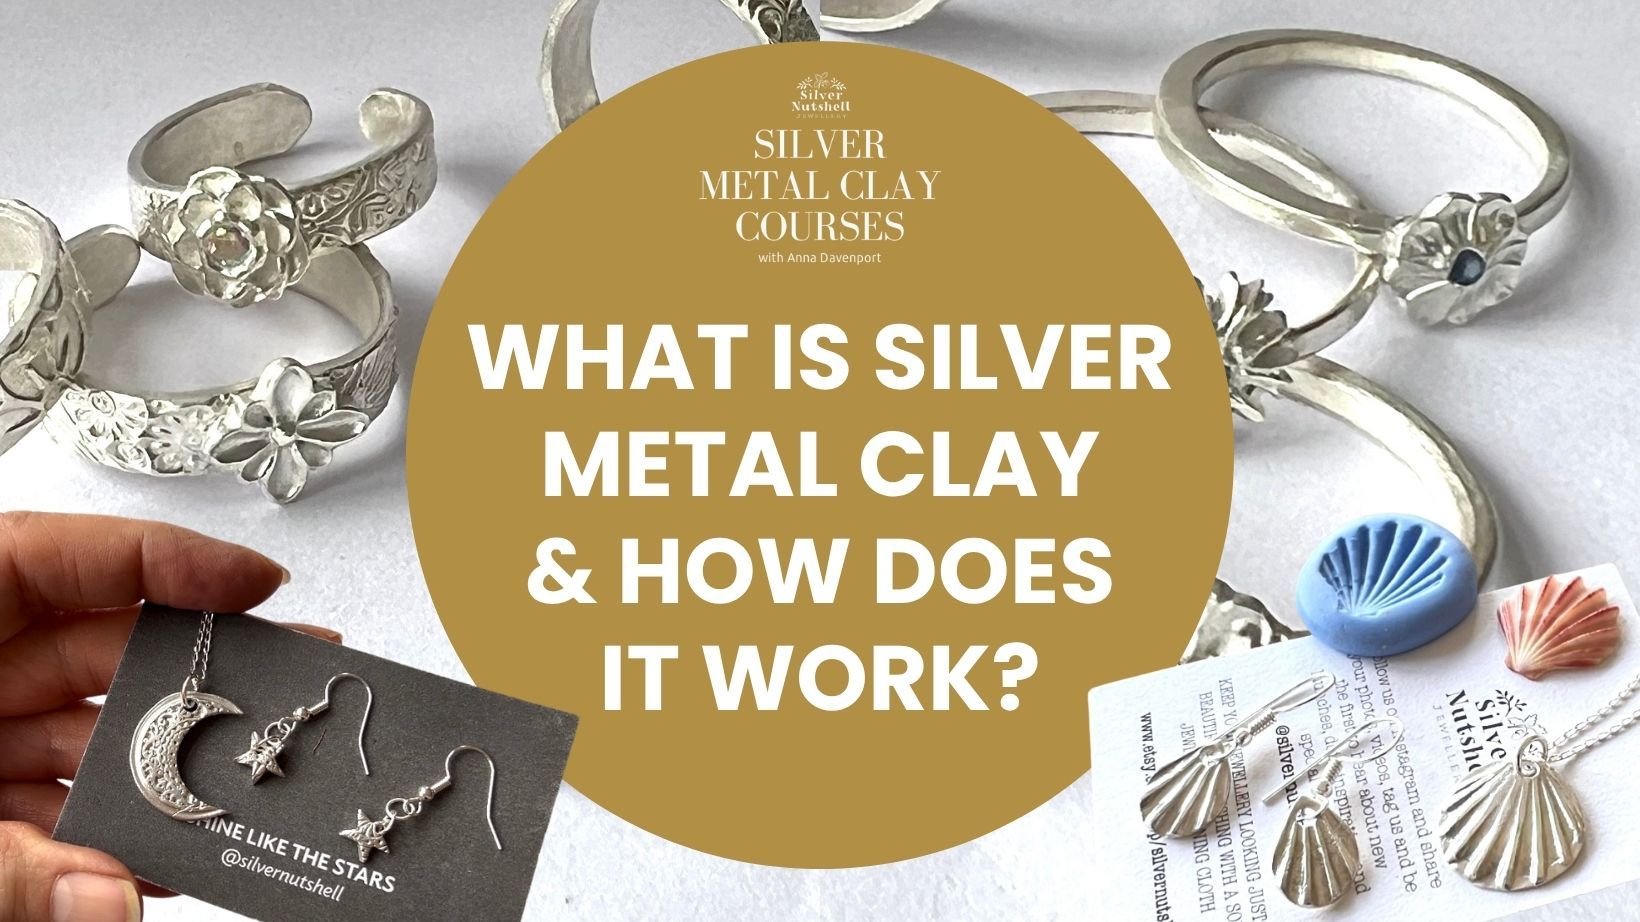
By Anna Davenport, Founder of The Vault & Silver Nutshell on Substack
Have you ever picked a daisy from a nature walk, a leaf from your garden or a seashell from the beach and wished you could capture that moment in time? This is exactly why I fell in love with silver metal clay. It isn't just a material; it picks up texture beautifully and it’s a way to capture the "soul" of nature in a piece of jewellery
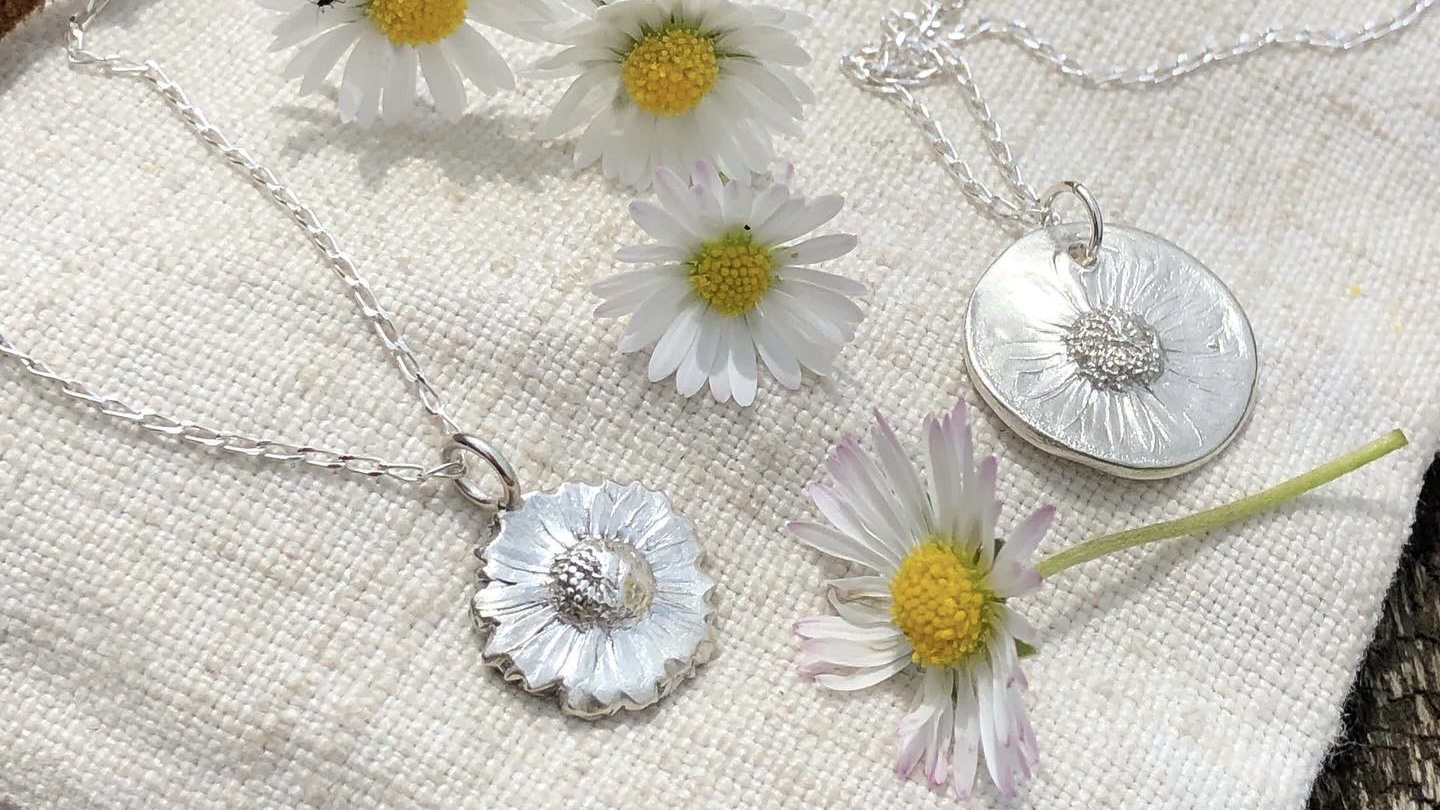
What is Silver Metal Clay?
At first glance, it looks and feels like ordinary sculpting clay. However, it is actually made of micron-sized particles of fine silver mixed with water and a non-toxic organic binder. Think of silver metal clay as a mix of microscopic fine silver particles, or "dust," mixed with water, and a bit of organic binder.
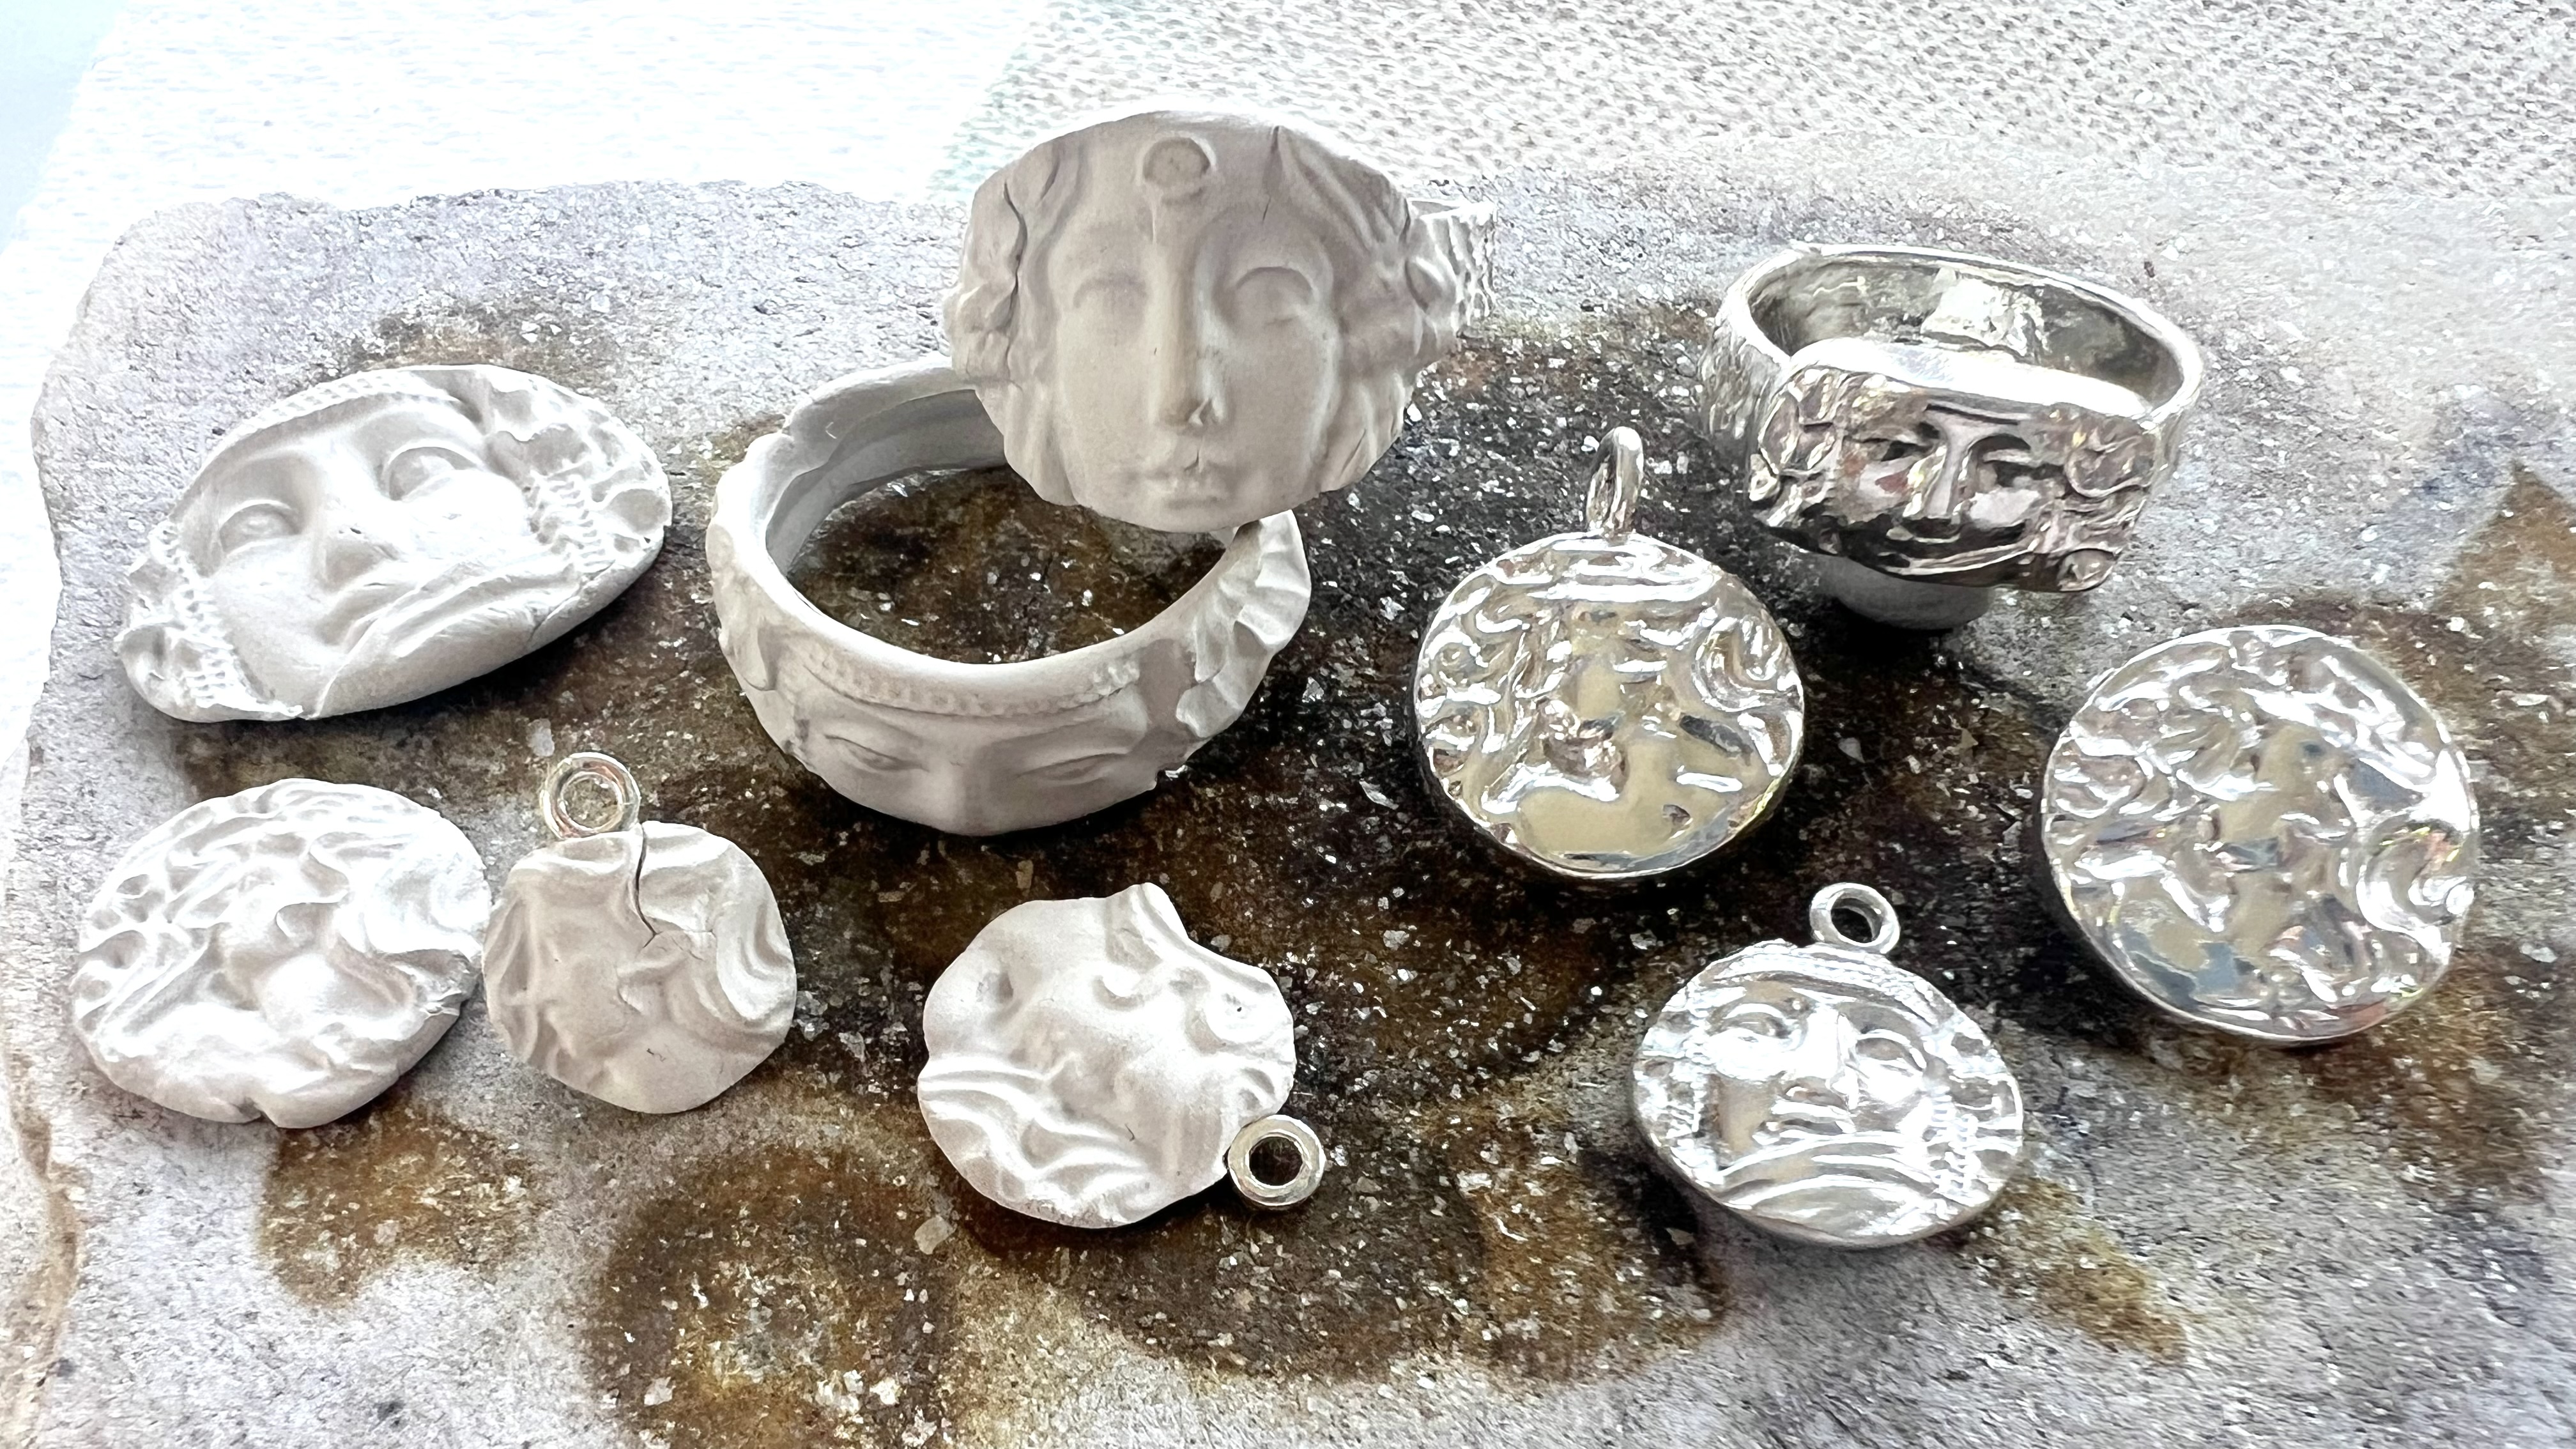
- About 90% to 99% of that lump of clay in your hand is actually pure silver particles
- When you fire it, the binder burns off and those tiny particles fuse, or sinter together.
- After firing, you're left with solid metal—usually 99.9% fine silver (for Torch Fireable Art Clay) or 92.5% sterling silver (which needs to be kiln fired).
- It's mostly 99.9% fine silver metal, a little binder, and a lot of magic once it is heated.
- In a 7g pack of silver metal clay, you’re looking at roughly 9.7 billion individual silver particles.
- The sheer number of these microscopic particles is what makes the clay feel smooth and allows it to "sinter" or fuse into solid metal so perfectly when it's fired.
The silver particles we use are recycled from the electronics industry—giving a second life to the silver found in everyday appliances rather than mining new metal.
The Magic of the 'Sintering' Process
The most frequent question I get is: “How does clay become silver?” The answer lies in a magical process called sintering.
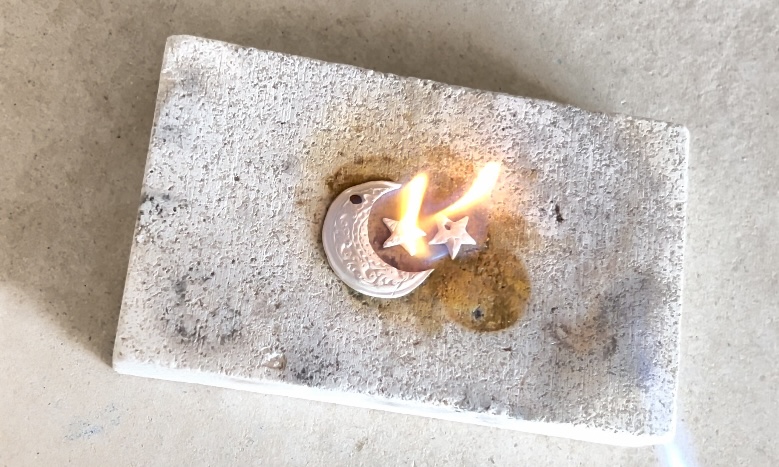
When you apply heat—either with a jeweller's kiln or a simple handheld torch—the water and binder burn away, and the silver particles fuse together. In less than a few minutes, you watch the clay transform into solid .999 fine silver right before your eyes.
Torch firing is all about managing the "glow" since you don't have the digital screen of a kiln to tell you the temp. Since you can't hold a torch for 30 minutes, you use higher heat for a shorter time—usually around 2 to 4 minutes.
- The Burn-Off: Begin by heating the piece gently. You might see a bit of smoke and maybe a tiny flame—that’s just the binder burning off. Once the smoke and flame stops, the piece will turn white and you can bring the piece up to sintering temperature.
- The "Peach" Phase: Keep heating until the piece starts to glow a soft, peach colour. Now, start the timer. You want to maintain this peachy glow for the full duration (usually 2+ minutes depending on the brand of clay) of the firing time.
- The "Mercury" Warning: If the piece starts to look shiny, wet, or moves like a liquid, it’s about to melt. Pull the flame back immediately!
- The Cooling: Once the time is up, turn off the torch, and leave your piece to cool down.
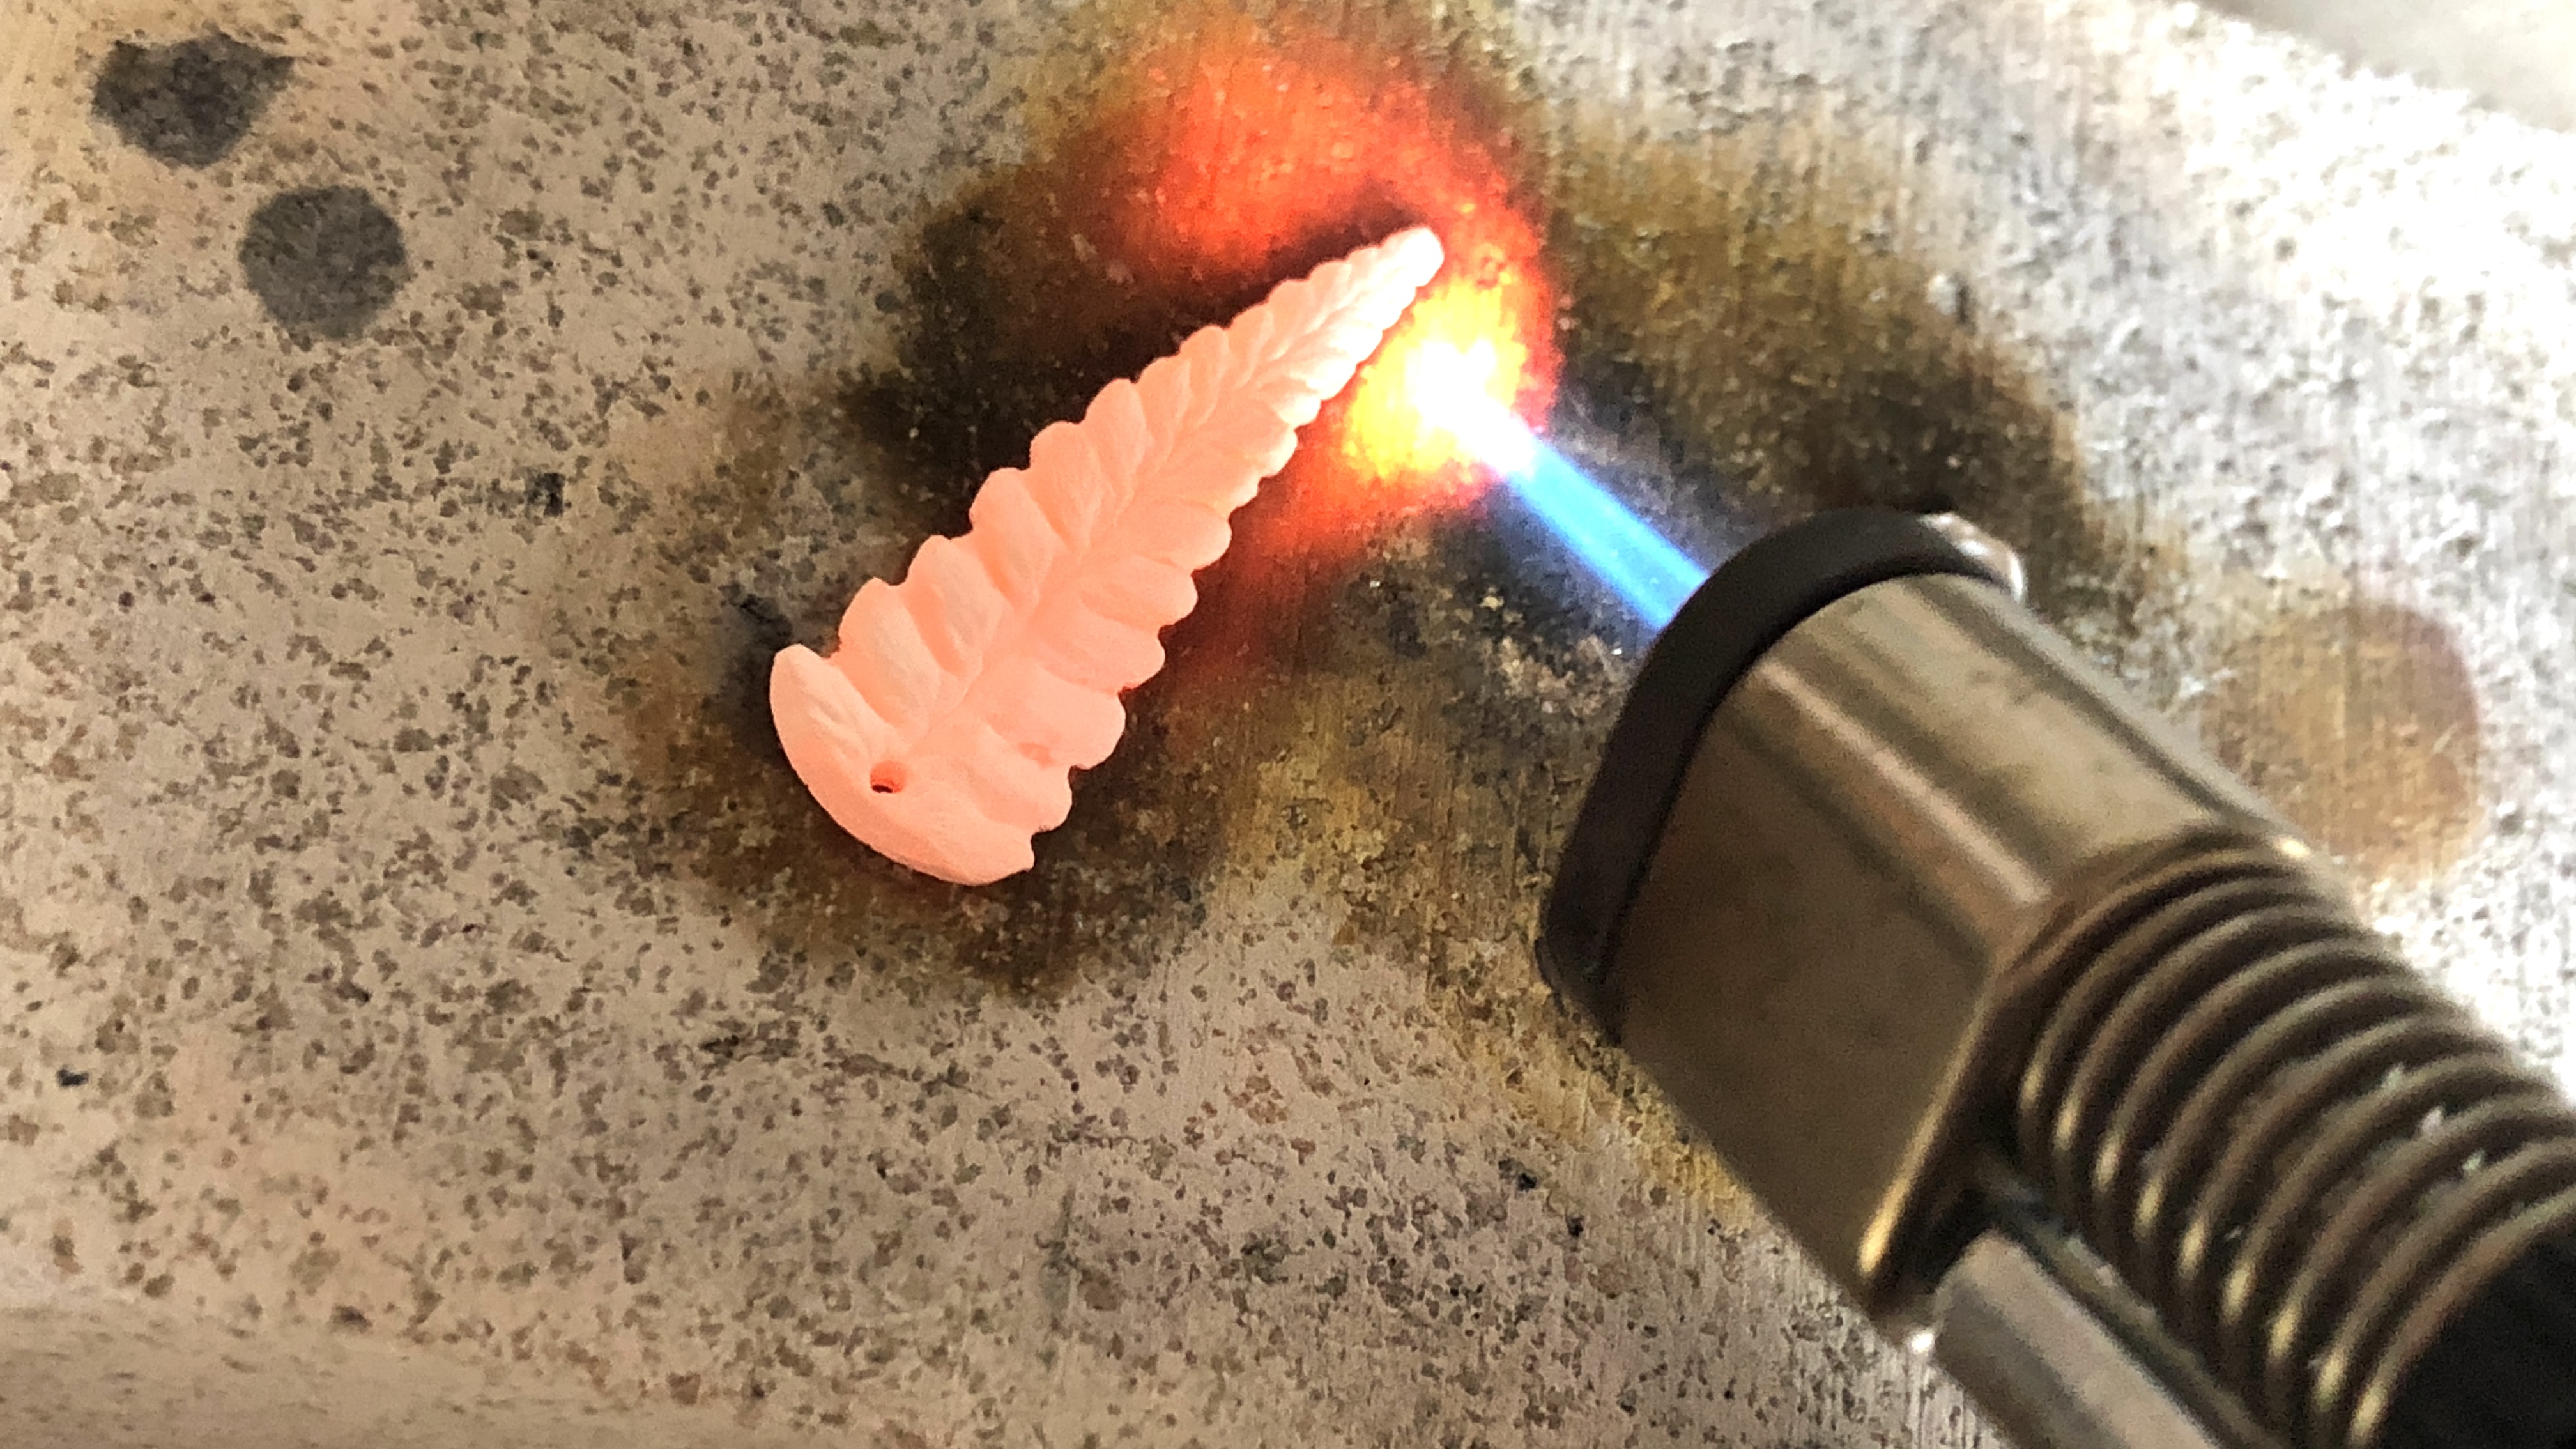
Pro Tip: Torch fire with no lights on and if possible, with the blinds drawn. If the lights are too bright, you won't be able to see the orange glow and you'll risk pushing the temperature too far and accidentally melting your work.
What clay do I recommend for beginners?
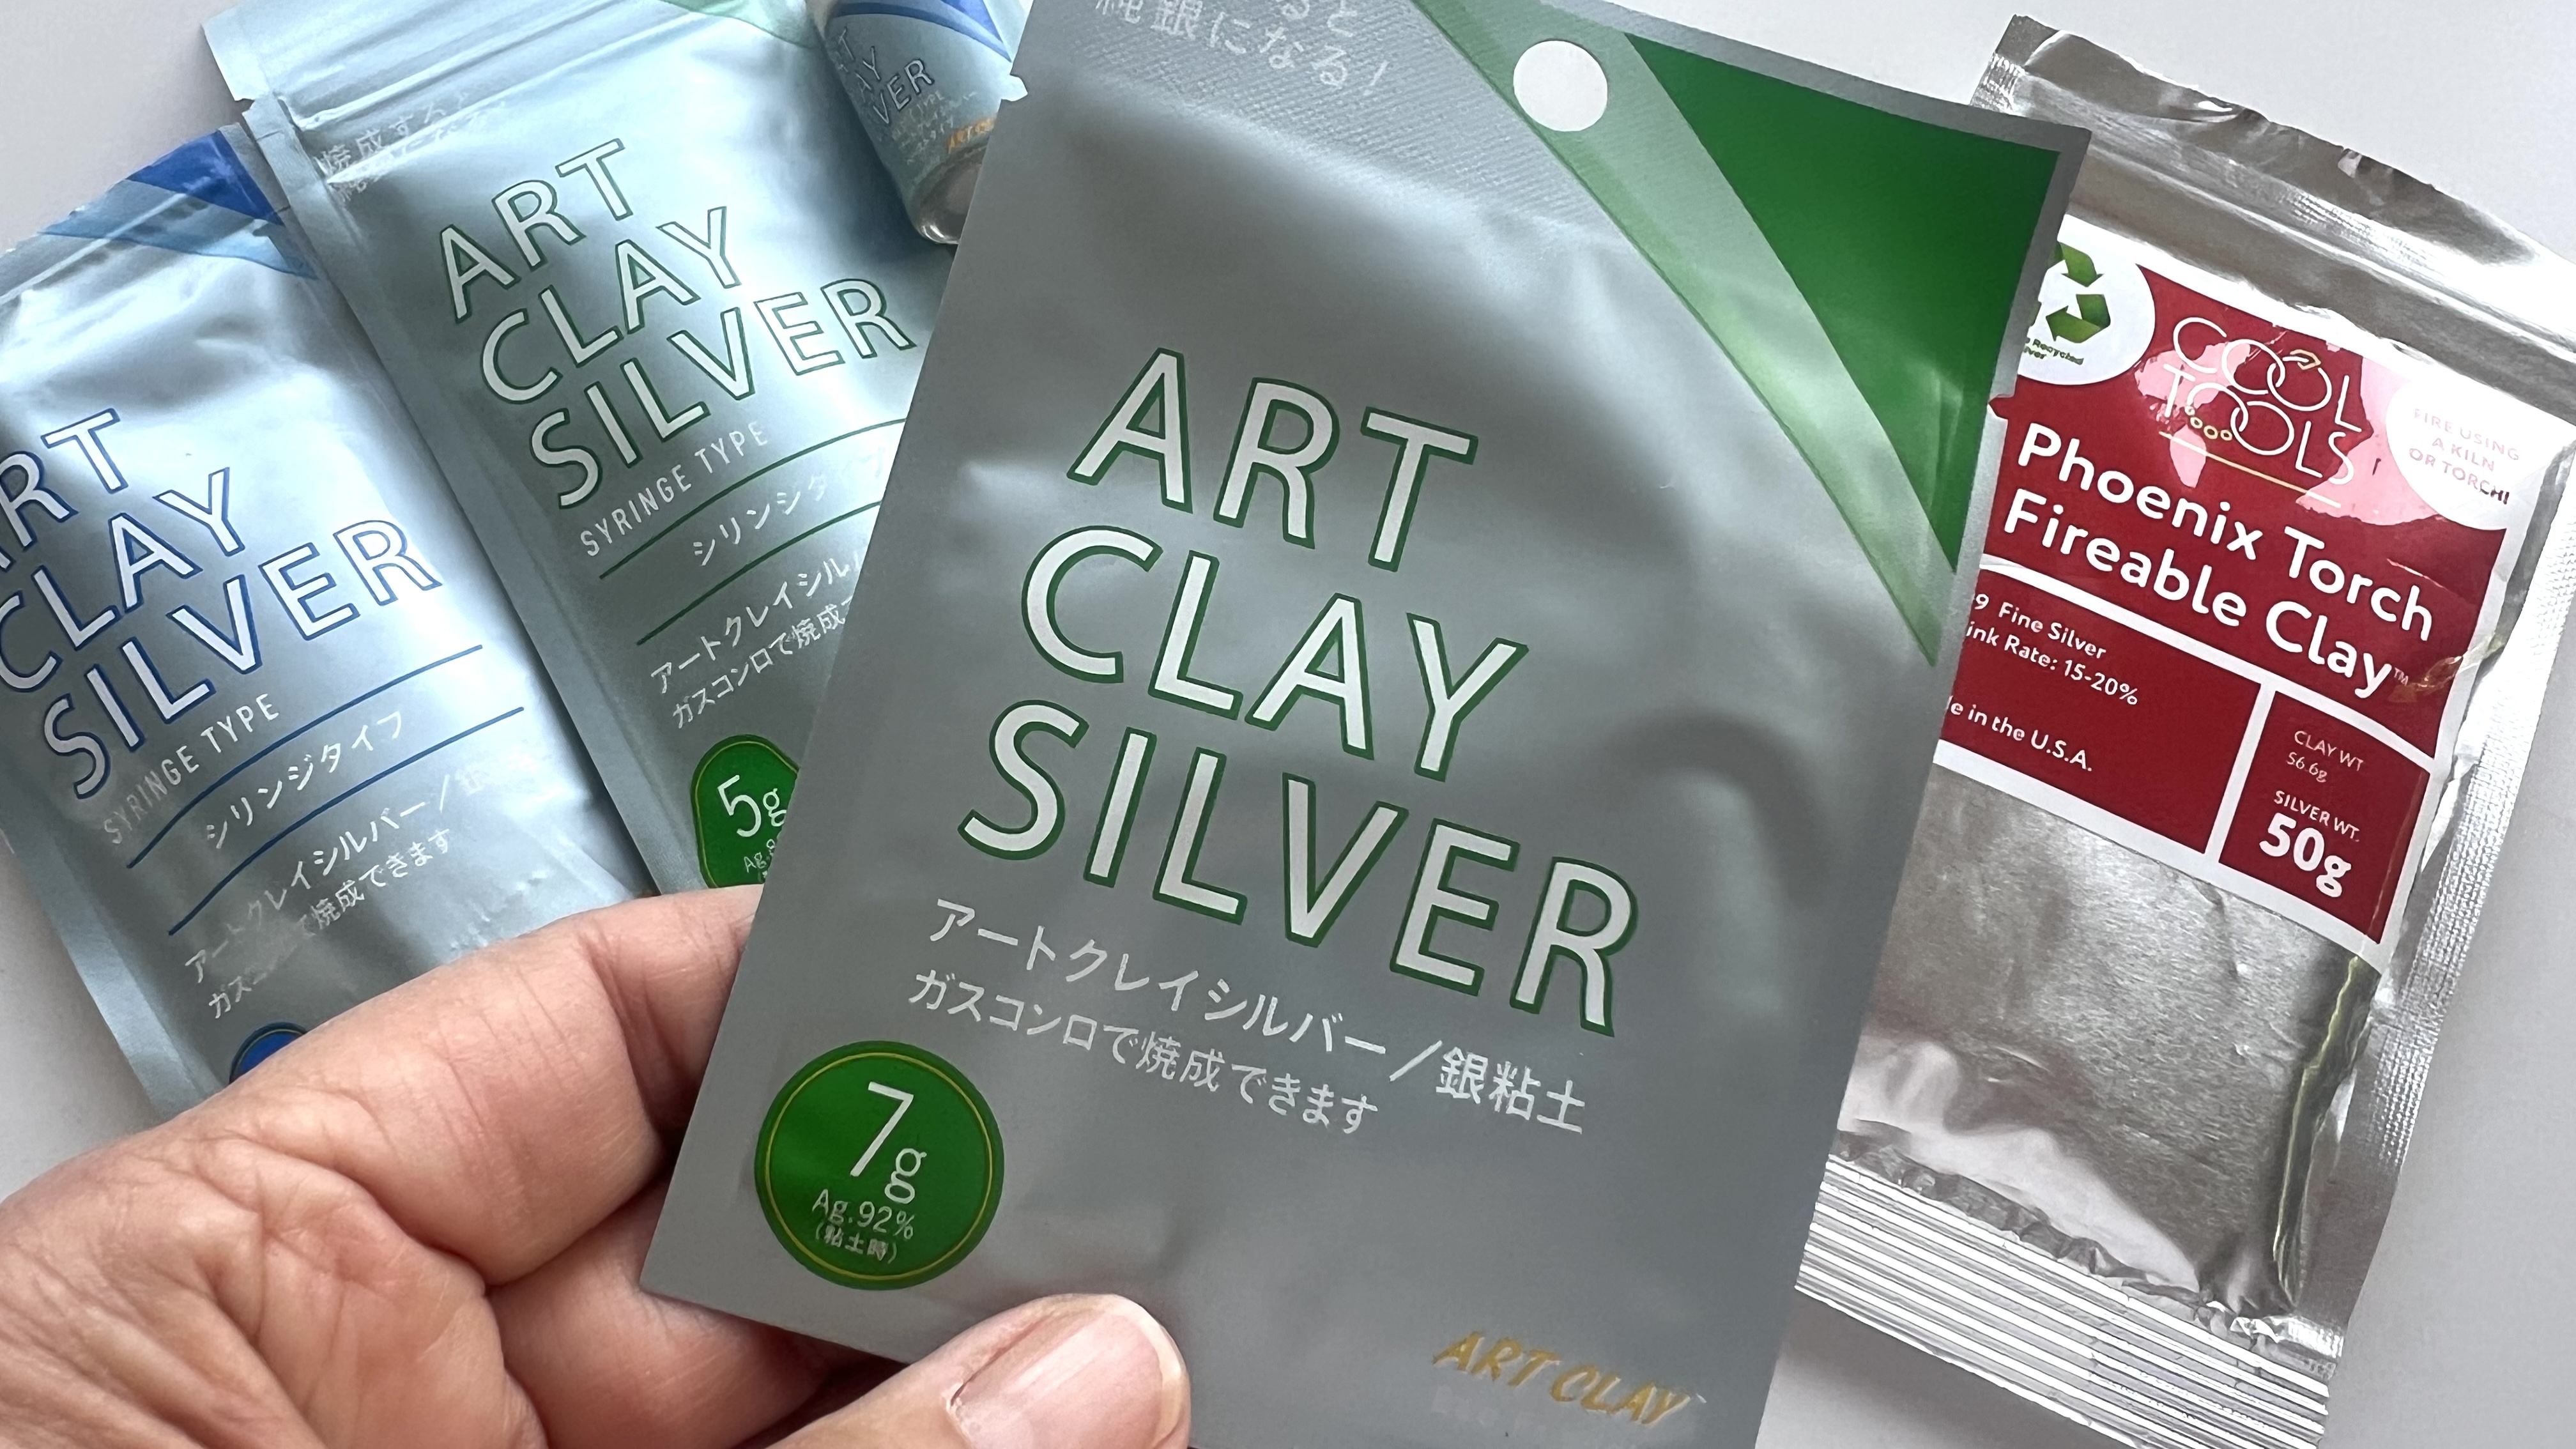
I use Art Clay Silver, which is readily available here in the UK. It's creamy to work with and shrinks 8-10%. If you torch fire your pieces, which I always do, make sure that you buy the Art Clay Silver brand, which is torch fireable.
I don't recommend that you buy any of the base metals, such as copper or bronze, or sterling silver, unless you have a kiln. They need to be fired for much longer, at a higher temperature and in different temperatures and kiln conditions. They won't sinter properly if you try to torch fire them. Believe me, I have turned a piece to dust to prove it!
I also recommend Phoenix Torch Fireable Clay. The lovely folk at Cooltools in the US, sent me a pack of their torch fireable silver metal clay, which I loved. When you open a pack, you'll notice that it's firmer and a darker in colour than the Art Clay Silver, but it's a lovely clay to work with. However, we can't get hold of it easily here in the UK.
Embracing the Shrinkage
Remember, different clays shrink at different rates, some as high as 25%, so bear this in mind when you're making pieces, especially ring bands. I include full instructions on sizing ring bands in my Ringmaking Masterclass. If you're mastered the basics, (and fancy making rings, and frankly who doesn't love making rings?) it's one of my best selling online video courses.
I wasn't always a pro. For a long time, I was terrified of making rings—the "join" always looked too difficult in online tutorials. But my big lightbulb moment came when I finally tried it and realised that it's only clay. With a bit of practise, it wasn't that hard after all.
It’s why I created the Ring Making Masterclass I wanted to show others how to skip the fear and get straight to the making. It's always the fear that holds us back. Confidence really does come with practice, and I can promise you that it's a great feeling to know how to do something properly—just like a Pro.
How to Torch Fire
Think of it as a two-step process:
- The Binder Burn-off: When you start heating, the organic binder and water (the "glue" holding the particles apart) vanish completely. This leaves behind tiny microscopic gaps between every single silver particle.
- Sintering (The Big Squeeze): As the heat increases, those billions of silver particles start to soften and "reach out" to one another. They bond together to close those empty gaps. As the spaces disappear, the entire piece pulls inward, becoming smaller, hence the shrinkage, but much denser and stronger.
Pro Secret: Use a low-shrinkage clay for a pendant, then use the same mould with a higher-shrinkage clay to create perfectly matching, smaller charms for a bracelet or earrings!
How I started with silver metal clay?
I started just like many of you—I went on a one-day workshop and drove away knowing I’d found that 'thing' that I would take up at some point in my life. I went on to train as a Silversmith, making collections of seashells and organic pieces to sell. Then, I discovered silver metal clay and it hailed a return to my roots, which are in teaching and publishing.
Sharing my passion for Silver Metal Clay has enabled me to grow my community on social media to over 160,000+, which is a bit bonkers really. One day, I'll try base metals again and I might even use a kiln. Everything you see me make is always torch fired, because I want to show people what is possible with a basic set up on your kitchen table.
I want to continue to showcase silver metal clay techniques in a bold and easy to learn way, whilst helping make this craft accessible for everyone. A challenge that I'm embracing with GUSTO right now!
Ready to start your own creative journey?
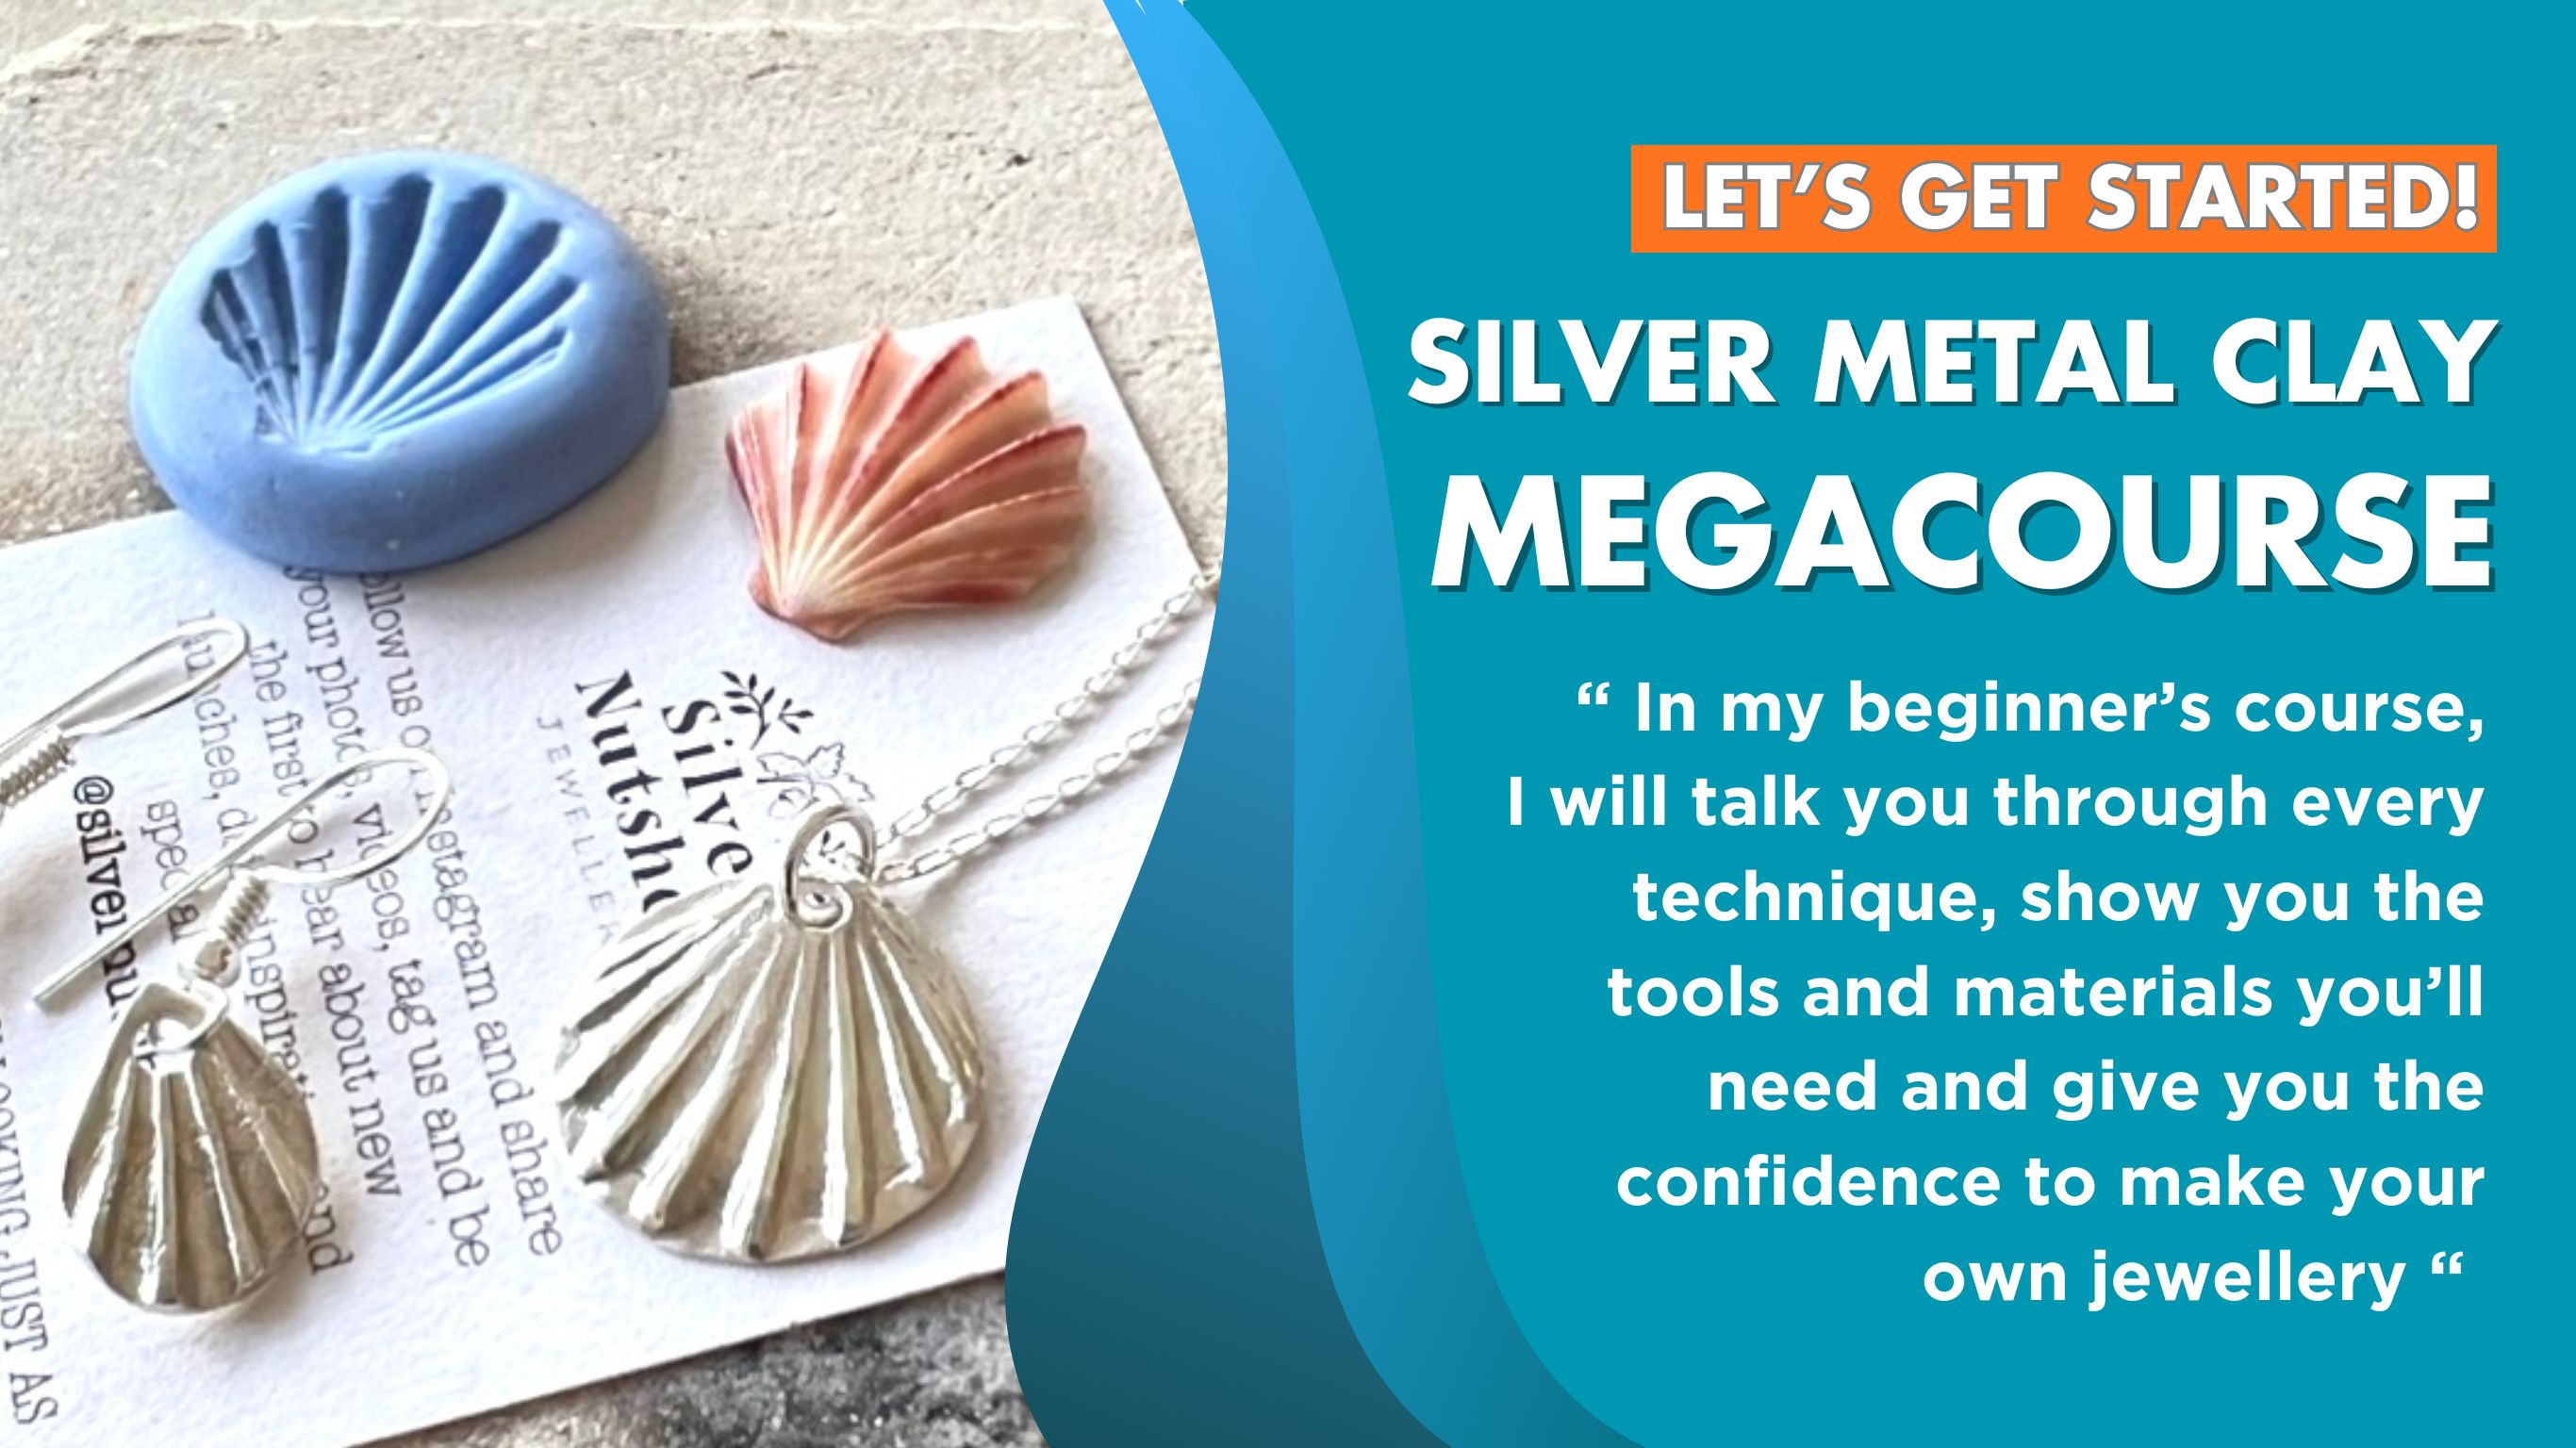
If you’ve been inspired to try your hand at making silver metal clay jewellery, I’d love to help you take that first step. Whether you want to master the art of ring making or preserve a favourite seashell forever, my online courses are designed to make the process simple, fun, and accessible, all from your own kitchen table.
-
Browse All Online Courses: From my Beginners Megacourse to the Ring Making Masterclass, and find the perfect project to start your journey today.
Don't forget to follow me on Instagram @silvernutshell for daily tips, tutorials, and a behind-the-scenes look at life in the studio! You'll also find me @silvernutshell on Substack, so subscribe - it's free - and join me on this adventure.